A Step-by-Step Guide for Transforming Designs into Retail-Ready Displays
By Yan Luo | Samtop Display
Transforming 3D renderings into retail-ready displays involves several critical steps: concept creation, material selection, prototyping, production, and final inspection. Creative teams must align closely with manufacturers to ensure the design intent is preserved and the final product meets brand standards. Consistent communication, clear documentation, and structured quality control are key to success.
At Samtop, we help brands turn their creative ideas into tangible displays with precision, consistency, and efficiency.
Many retail displays fall short of their original design once mass-produced, due to misalignment between creative intent and manufacturing realities.
This can lead to inconsistent branding, poor-quality installations, and lost campaign ROI—especially across global markets.
By following a defined workflow—from 3D renderings through prototypes to production—and working with experienced partners, creative teams can bring their designs to life without compromise.
🔧 Step-by-Step: From 3D Design to Tangible Display
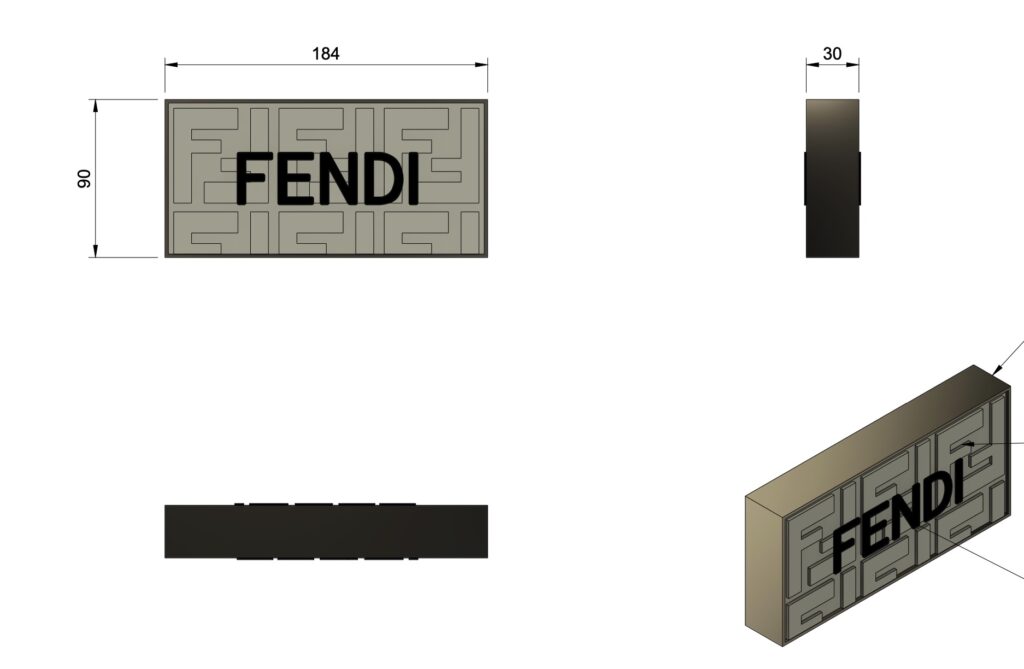
1. 3D Rendering for Retail Displays: The Visual Blueprint
- 📐 Create a high-fidelity rendering using tools like SketchUp, Blender, or Rhino
- 🎨 Include materials, finishes, textures, lighting effects, and interactive elements
- 📏 Ensure proportion and retail fit are clear from all angles
Tip: Show how the display looks in-store with realistic lighting and placement context to get accurate feedback.
2. Internal & Client Review: Design Alignment
- 👥 Present the rendering to stakeholders for brand alignment
- ✏️ Gather structured feedback on aesthetics, brand tone, and function
- 🔁 Revise renderings until everyone signs off
Tip: Use annotated visuals and video walkthroughs to communicate design clearly with clients or global teams.
3. Material Selection: Matching Design with Reality
- 🔍 Choose materials based on budget, durability, sustainability, and finish
- 🎨 Ensure selected materials replicate the design’s texture and appearance
- 📦 Request and approve actual material swatches under real lighting
Tip: Use eco-friendly options like recycled acrylic, FSC-certified wood, or low-VOC finishes for sustainability-conscious brands.
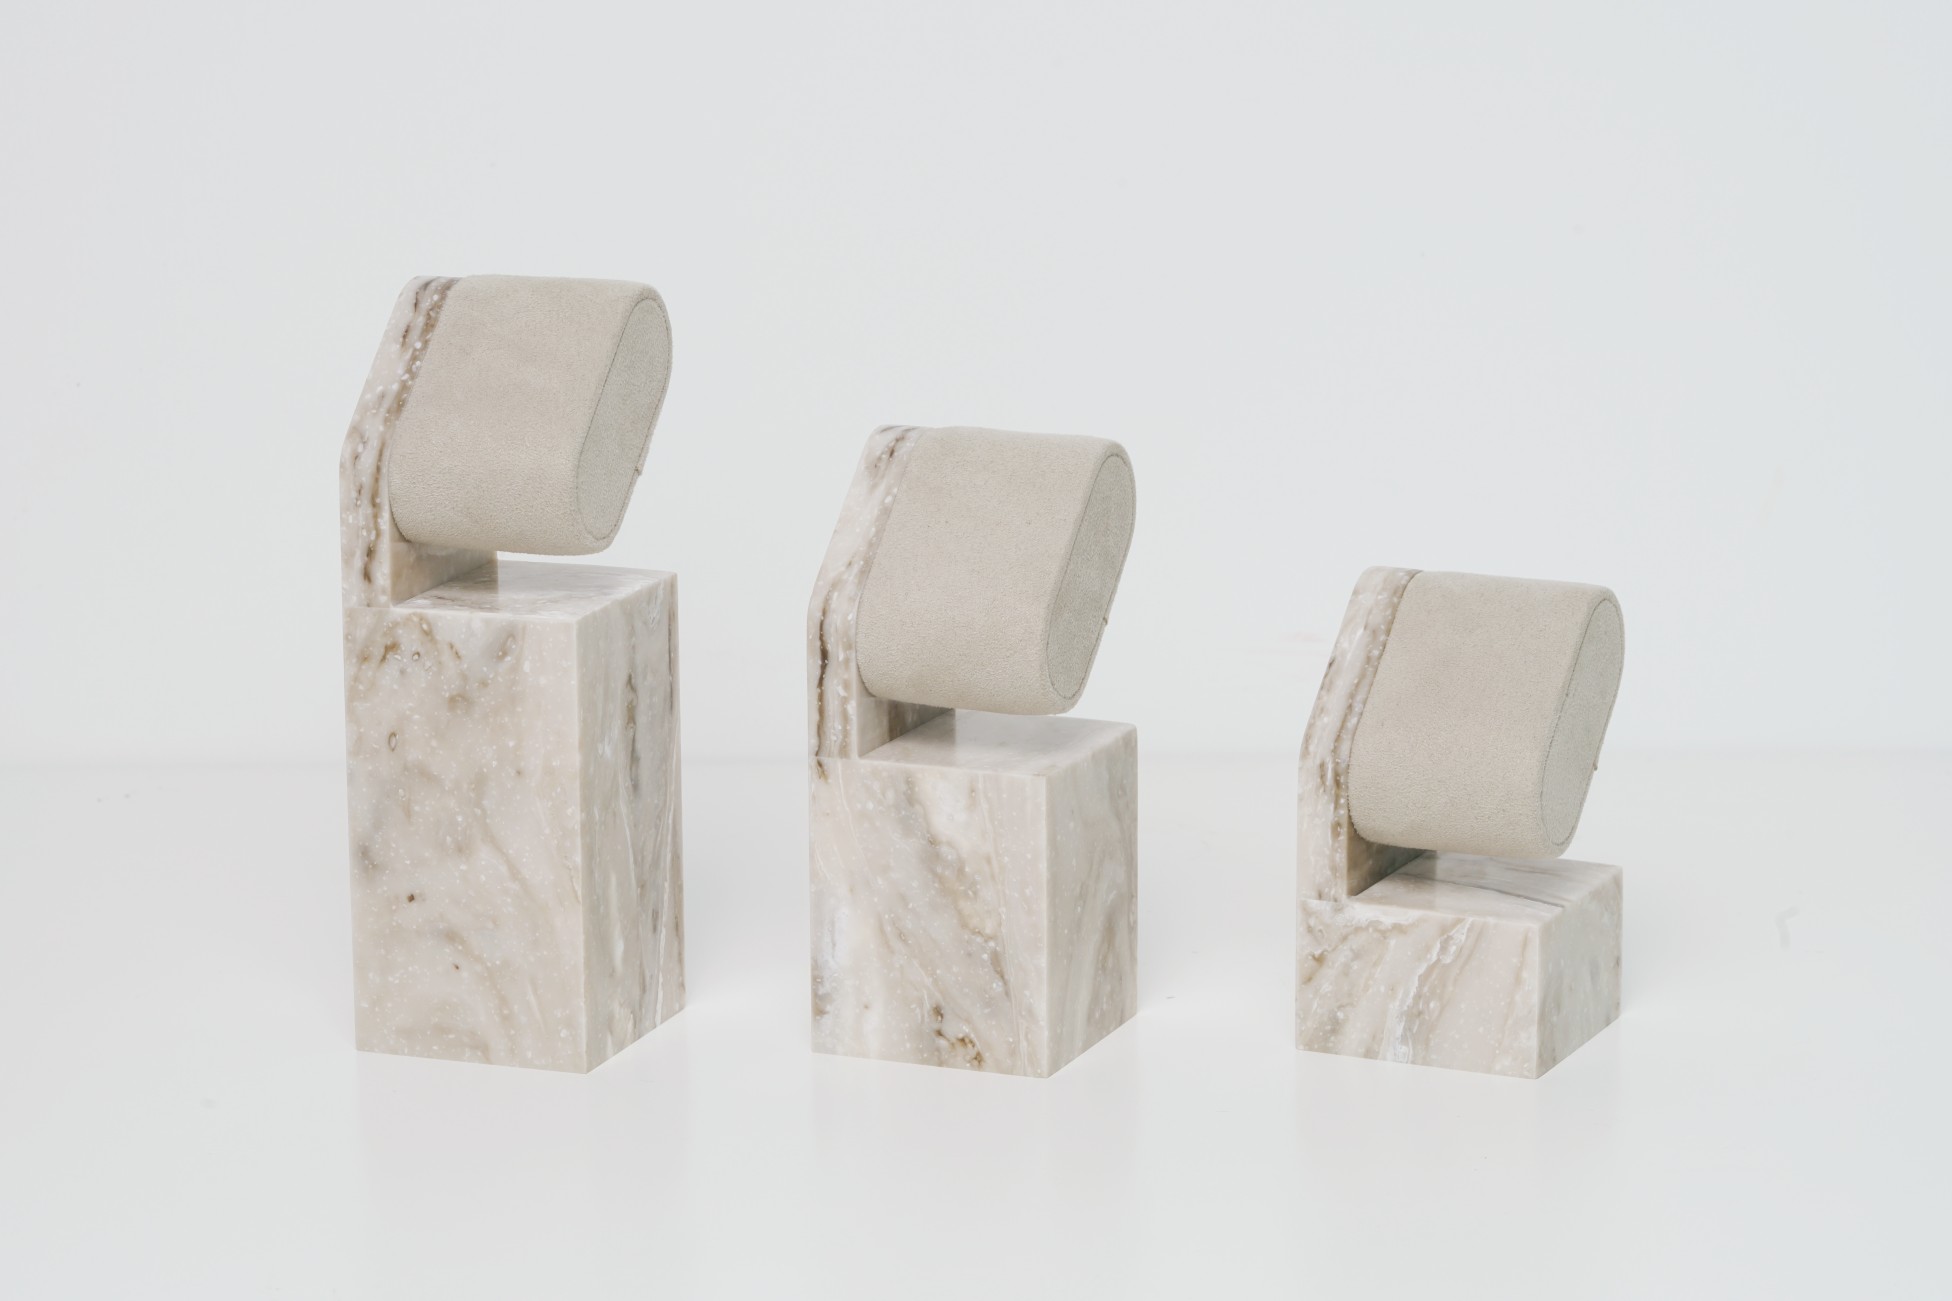
4. Prototype Development: From 3D Rendering to Real Retail Display
- 🧪 Create a working prototype to test form, structure, functionality, and finish
- ✅ Validate lighting, interactivity, balance, and assembly feasibility
- 🔧 Make refinements to dimensions or features before mass production
Tip: Test the prototype in-store or under simulated retail conditions to detect issues early.