Samtop designs retail displays that are beautiful, but also easy to assemble — with tool-free connectors, pre-installed components, labeled parts, and video instructions. Discover how to simplify installation across hundreds of stores.
Table of Contents
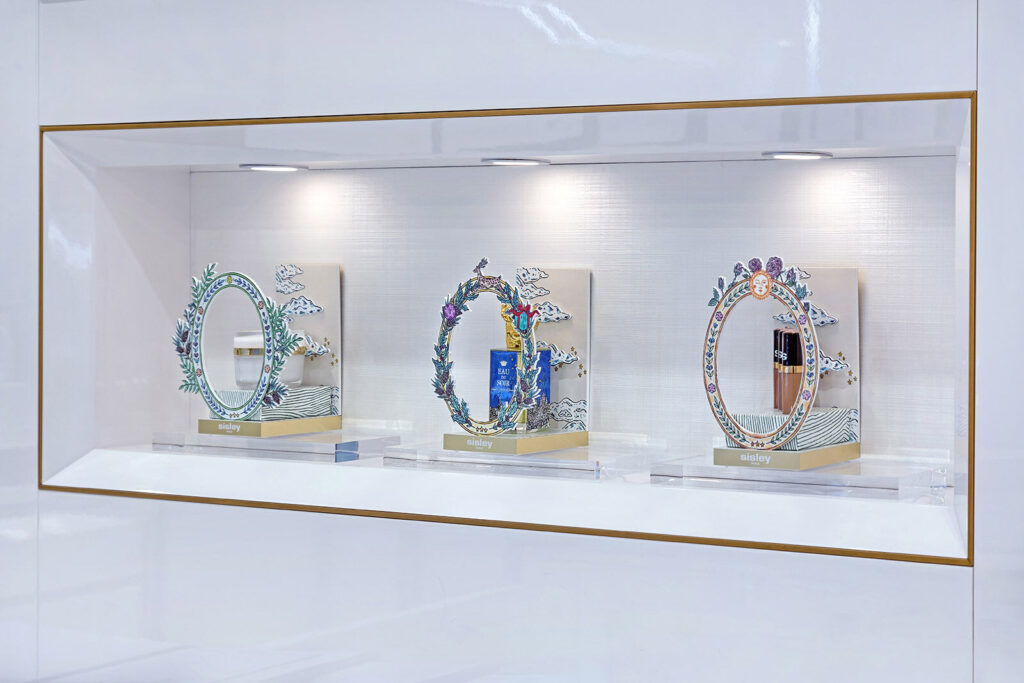

You’ve created a visually stunning retail display — bold colors, premium materials, fully on-brand. But when it arrives at the store, the nightmare begins:
❌ The team can’t figure out how to build it
❌ Missing screws or unclear instructions
❌ Staff uses tape to hold it together
A poor retail display assembly experience leads to:
- Delays in campaign launch
- Broken or misused displays
- Inconsistent setup across stores
- Frustrated teams and wasted budget
At Samtop, we believe a display should be as easy to assemble as it is beautiful — especially for rollouts across 10, 50, or 300+ stores.
Here’s how we simplify display assembly using smart, modular engineering.Here’s how we do it:
✅ 1. Use Tool-Free Connection Systems Wherever Possible
| Method | Why It Works |
|---|---|
| Snap-fit joints | Click together with no screws |
| Magnetic panels | Auto-align, reusable |
| Slide-in slots | Secure with gravity & friction |
| Push-lock tabs | Common for acrylic & MDF |
🎯 No screwdriver? No problem.
🔧 2. Design Modular Components That Are Intuitive
| Samtop Tips | How It Helps |
|---|---|
| Clear top/bottom shapes | Prevents wrong orientations |
| Limit component types | Less confusion during setup |
| One-way panel fit | Eliminates guesswork |
| Number each part | Matches instruction steps (e.g. Part 3) |
✅ Think IKEA-simple — but retail-grade.
📦 3. Pre-Install as Much as Possible Before Shipping
To reduce store-side labor:
- Trays or internal frames are pre-assembled
- Logos / decals applied in factory
- LEDs, wiring, batteries integrated
- Only 2–3 quick-fit steps left for store staff
💡 Some displays are 95% ready — just plug in and place.
📖 4. Include Clear, Visual Assembly Instructions
Each Samtop display set includes:
- 📄 Printed step-by-step install guide
- 🔢 Numbered parts & label stickers
- 📱 QR code to video demonstration (optional)
- 🔧 Tools included (if unavoidable)
- 🚫 “Do Not” warnings for fragile parts
🎯 Paris or Toronto — anyone can set it up without calling for help.
📊 5. Engineer Based on Real Store Conditions
We ask:
- Who will assemble — trained VM staff or general employees?
- Will setup happen during rush or before hours?
- What kind of space is it — window, counter, freestanding?
- Is there storage for crates and tools?
- Are there electrical outlets?
✅ We design structure based on real-world usage.
📍 Real Example: From 20-Min Assembly → 3-Min Plug-and-Place
Before Optimization:
- 6-part MDF structure
- Screws + brackets
- Staff complaints, many left unassembled
After Samtop Redesign:
- Magnetic panel system
- Pre-installed base
- Instruction card + part numbers
🎯 Assembly time dropped from 20+ min → 3–5 min
✅ 180 stores installed flawlessly in 2 days
🔧 Materials That Support Easy Assembly
| Material | Assembly Advantage |
|---|---|
| Acrylic | Laser-cut tabs, tight slot-in design |
| MDF / Plywood | Push-lock or screw-free joinery |
| Resin / Fiberglass | Molded one-piece with embedded lighting |
| Metal | Slide-in brackets or hook-and-lock |
| Foam board / PVC | Lightweight, foldable, ideal for pop-ups |
💡 Material choice = installability + durability.
🎯 Conclusion: Easy Assembly = Lower Cost + Higher Compliance
When displays are easy to set up, you get:
✔️ Fewer damaged parts
✔️ Fewer store complaints
✔️ Faster rollout
✔️ Higher visual consistency
✔️ Better ROI
At Samtop, we build displays that don’t just look premium — they’re designed for practical execution.
📩 Want Us to Evaluate Your Design for Assembly Simplicity?
Send us:
- Your current structure sketch
- Store rollout plan
- Team who will assemble it (trained / general staff)
✅ FAQ
❓ What is the best way to make a POP display easy to assemble?
The best way is to use tool-free connectors, pre-labeled modular parts, and pre-installed components. At Samtop, we simplify retail display assembly through intuitive structures, magnetic panels, and visual instruction kits.
❓ Why is tool-free assembly important in retail displays?
Tool-free assembly reduces setup time, avoids damage, and ensures visual consistency across store locations — especially in fast rollouts or global campaigns.
❓ What materials are easiest for display assembly?
Acrylic, MDF, ABS, and PVC foam board are commonly used. These materials allow for slot-fit designs, push-lock joinery, or pre-molded components, all of which simplify in-store installation.
❓ How can Samtop help reduce assembly mistakes?
We include:
- Numbered parts with stickers
- Step-by-step printed guides
- QR-linked assembly videos
- Pre-installation of LEDs and trays
This makes it nearly impossible to misassemble, even for general retail staff.
❓ Can custom displays still be flat-packed and tool-free?
Yes. Our modular engineering enables even premium displays with lighting to be flat-packed and assembled without tools — perfect for campaigns requiring shipping efficiency and fast installation.
🔗 Retail Fixture Installation Guidelines – POPAI
🔗 Designing for In-Store Execution – Adobe Experience Report

