What to Review, Confirm, and Sign Off to Avoid Surprises Later
Table of Contents
By Yan Luo | Samtop Display
Before mass production begins, review a detailed QC checklist that covers structure, color, logo alignment, lighting, materials, and packaging. Use photos, video, and spec comparisons to ensure the First Production Unit (FPU) matches your approved sample — and avoid expensive surprises later.
Side-by-side Pantone and final finish under retail light
You signed off on a great prototype — but the factory just made 500 units with the wrong logo color.
One unchecked detail can derail a campaign. Incorrect Pantone, misaligned logo, wobbly base — all multiplied by hundreds of units.
Use a structured pre-production QC checklist to verify finish, branding, structure, lighting, and packaging — before mass manufacturing begins.
⏱️ When to Run QC?
Stage
Description
After Sample Approval
FPU is built using final materials, finishes, and graphics
Before Mass Production
Final decision point to approve or request changes
📌 Also known as: First Article Inspection (FAI) or Golden Sample Review
✅ Samtop Pre-Production QC Checklist
🟡 1. Structure & Dimensions
All dimensions match tech drawings (±2mm max)
Stable build — no wobble or tilt
Load-bearing capacity tested if needed
Assembly confirmed: tool-free or labeled
🛠️ Tools: Measuring tape, level, test weight, build instructions
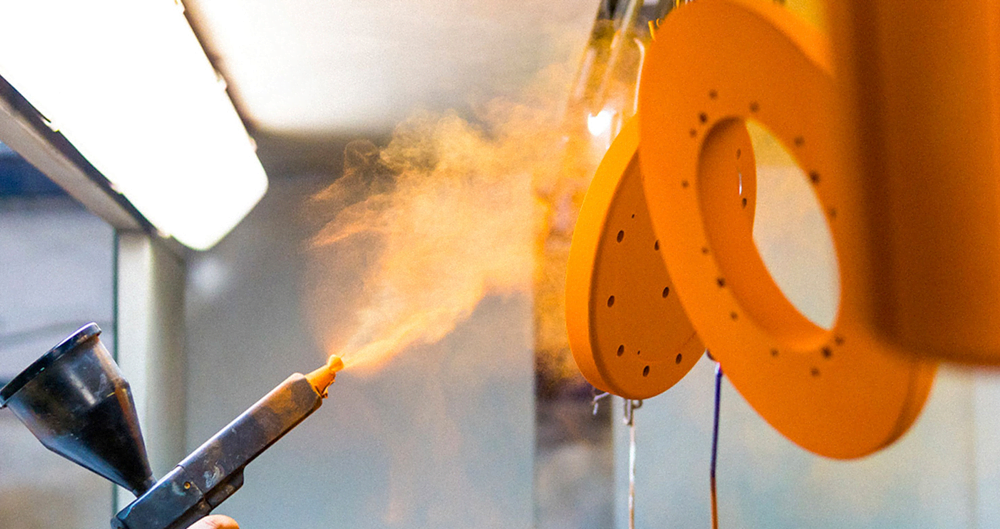
🔵 2. Surface Finish & Color
Finish matches approved Pantone + finish type (matte, satin, gloss)
No bubbling, streaking, or visible texture issues
Daylight + store-light comparison
🎨 Request: Spray panel side-by-side + photo in both lighting types
🔴 3. Logo & Branding Accuracy
Logo size, location, and print method match render/sample
UV/silk/laser print is sharp and clean
All brand elements aligned and consistent
📸 Request: Macro logo close-ups with reference card
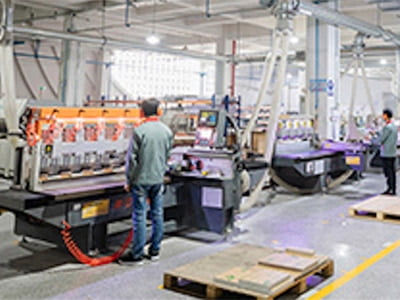
🟢 4. Material & Construction Method
Matches BOM (MDF? Plywood? Acrylic?)
Clean edges, no glue stains or burrs
Joinery and adhesives hidden from customer view
🧱 Cross-check with spec sheet and material board
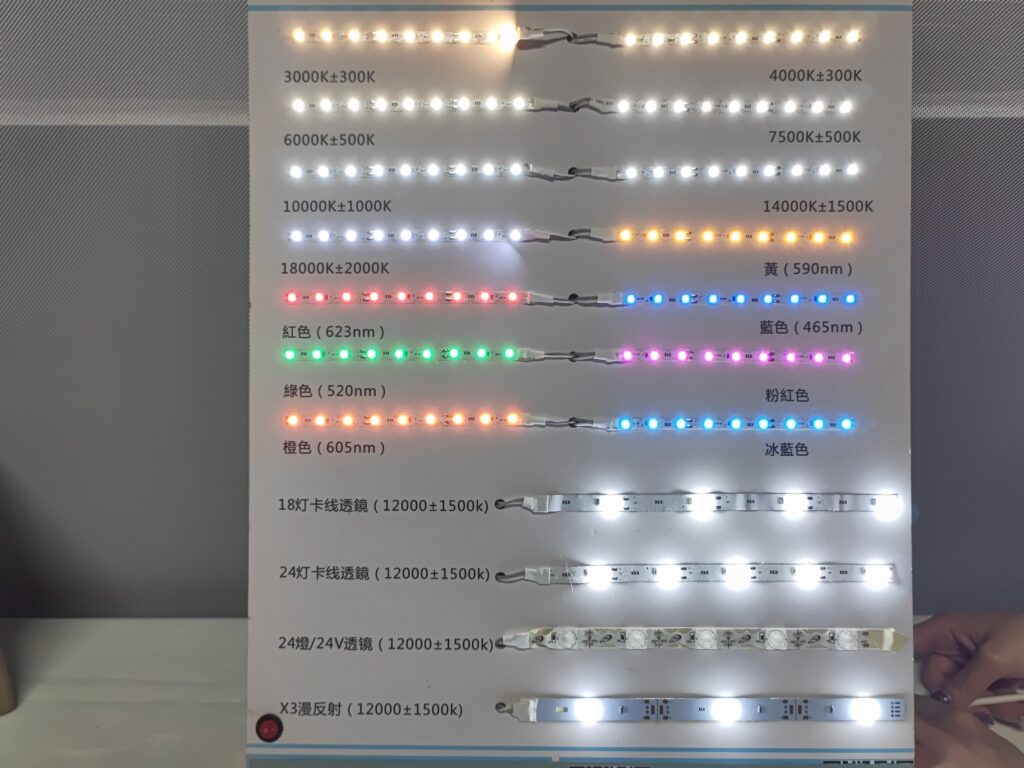
🟣 5. Lighting System (If Included)
LED brightness consistent — no flicker
Cables hidden or neatly routed
Color temperature (e.g. 3000K) matches spec
Battery/plug location accessible
💡 Request: Video demo with lights on/off + ambient light comparison
🟠 6. Packaging & Protection
Foam, wrap, divider boards, bag use verified
Outer carton labeled with code, side up, quantity
QR guide or printed manual included
Inner carton count and packing order checked
📦 Request: Full unboxing photo sequence
⚫ 7. Final Visual Consistency
Assembled unit matches render + sample from all key angles
Branding hierarchy matches layout spec
No off-balance parts or visual inconsistencies
📷 Compare: Final sample → FPU → Render
📦 Real Case: QC Saves a 400-Unit Tester Tray Launch
🟨 Challenge: EU client wanted strict Pantone + exact logo placement 🟩 Samtop Response:
Sent macro logo images + Pantone comparison
Provided 20-photo visual QC PDF
Shot unboxing and final install video
✅ Outcome: Approval without factory visit. Production started next day.
❓ FAQ
Q: Can QC be done remotely via photos?
A: Yes — but ask for well-lit photos, clear angles, Pantone comparisons, and video if possible.
Q: Who should approve the QC?
A: Ideally:
Brand → design + color
VM → structure + layout
Procurement → packaging + compliance
Q: Can changes be made after pre-QC approval?
A: Only minor ones. Major revisions = delays and cost. That’s why pre-production QC is your final safety net.
🎯 Conclusion: QC Is the Last Step — But the Most Crucial
✔️ Don’t just approve a display — inspect it ✔️ Use visual proof to protect your campaign ✔️ Approve across teams — and align with confidence ✔️ Fix it now — not after 500 units are shipped
📩 Want a QC checklist or branded template for your next campaign?