Luxury businesses use a variety of visual displays to display their enduring and limitless attraction in the always-changing realm of visual merchandising. Fiberglass animal figures among them catch our attention with their astounding realism and minute detailing. This is an art that calls for perseverance, talent, and a distinctive viewpoint. Let’s enter this enigmatic world and investigate the exquisite art of making fiberglass huge animal statues. As you travel along, you’ll see that every tiny step, every learning experience, and each element bursting with life and character all contributed to the creation of this masterpiece.
Table of Contents
Design and Planning
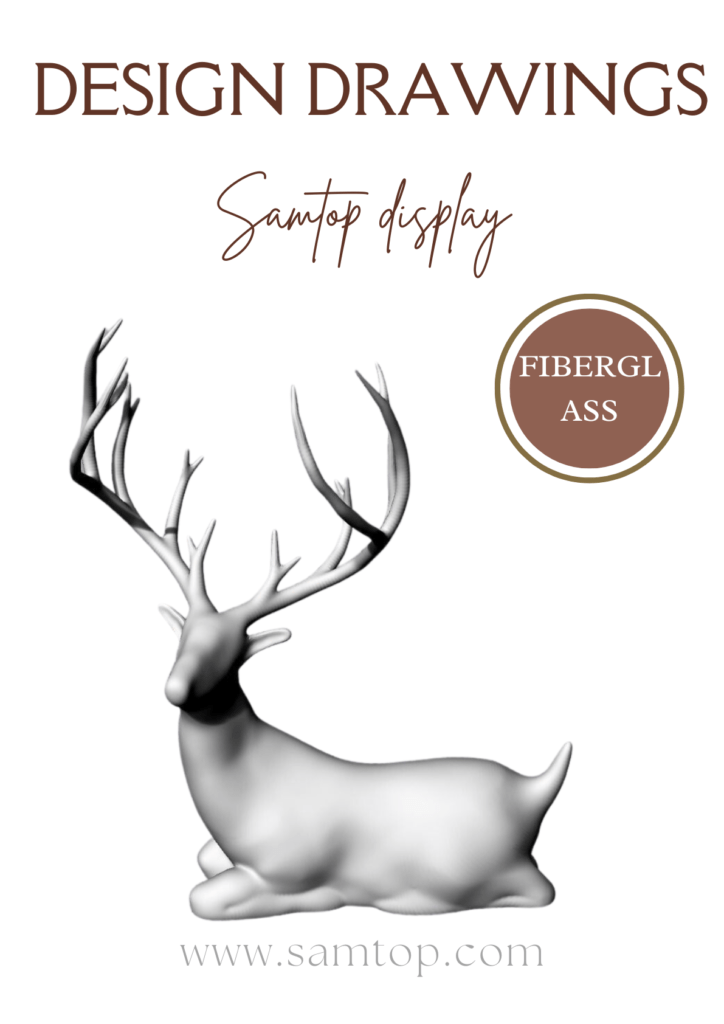
To begin, choose the design for the animal shape you’ll be creating. A hand-drawn sketch or a 3D model produced with CAD software can serve as this. Take into account the animal’s actual size, the pose you want, and the level of detail you want. Consider your budget, timetable, and the equipment and supplies you’ll be using as well.
Making the Model
Building a physical model is the next step. Since these materials are simple to mold and carve, this is often done with foam or clay. To form your sculpture, use sculpting tools like knives, sandpaper, and other materials. Make the model as similar to your design as you can.
Making the Mold
After your model is finished, you must utilize it to make a mold. Since silicone is flexible and can accurately record all the features of the model, it is typically used to create molds. To prevent the silicone from sticking to the model, first, use a releasing agent. The silicone can then be applied to the model. Be patient; the silicone will require time to cure. You can take it out of the model once it has dried. When using the mold, you might need to generate multiple pieces and then put them together.
Laying the Fiberglass
As soon as the mold is prepared, you may begin putting the Fiberglass Down. To create the outside surface of the animal shape, first coat the inside of the mold with a gel coat. Then, after trimming pieces of fiberglass fabric to the right sizes, insert them into the mold. Additionally, you’ll need to get some liquid resin ready and apply it to the fiberglass fabric. Until the fiberglass cloth is thoroughly saturated, evenly distribute the resin across it using a roller or brush. For increased strength, you might need to add several layers of fiberglass.
Demolding and Curing
Allow enough time for the resin to cure. Depending on the kind of resin you’re using, this could take a few hours to several days. You can take the mold off the sculpture once the resin has completely hardened. Considering that the fiberglass might adhere to the mold firmly, this may require some force and perseverance. You must exercise caution to avoid harming the fiberglass or the mold.
Repairing and cleaning
There might need to be some cleanup after the fiberglass components have been taken out of the mold. This can entail cleaning up extra resin or repairing any little imperfections or bubbles. Make the surface smoother by sanding it using sandpaper or power equipment.
Assembling and finishing
Now is the moment to put your animal shape, if it has numerous pieces, together. Bolts, glue, or other techniques can be used to join them together. After that, you can begin including more elements like eyeballs, scales, or fur. A number of materials, including plastic, metal, and synthetic fur, can be used to create them.
Painting
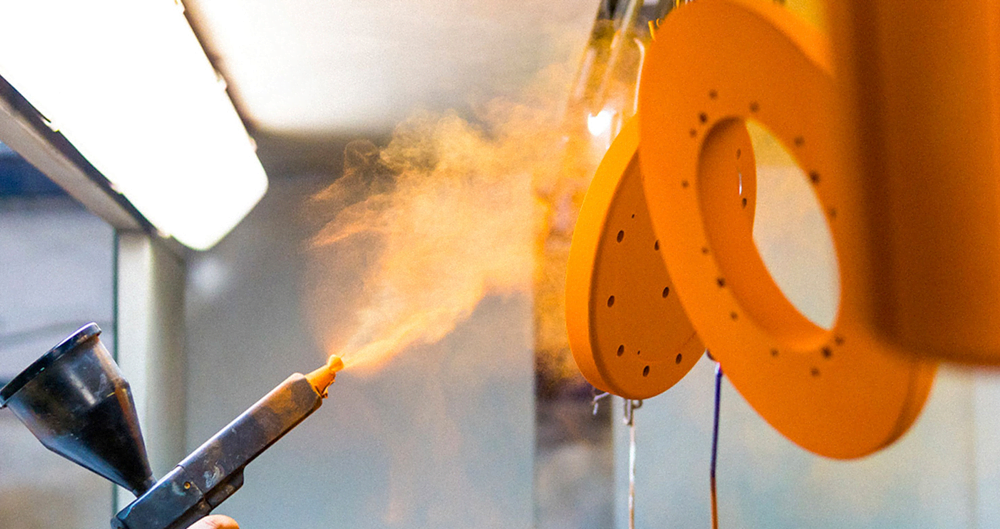
Following the completion of the detailing, you may begin painting your animal shape. To obtain the most realistic look, you must select the appropriate colors and apply them correctly, which calls for artistic ability. It could be necessary to employ several paints and brush types as well as methods including dry brushing, cleaning, and detail painting.
Sealing
After the painting is finished, your work needs to be covered in a shield. Typically, a clear varnish or a substance comparable to it is used to make this. The sealer can offer some water protection and stop the colors from fading or wearing off.
Installation
Your animal figure must now be installed in the display area as the last step. You might need to build a base or use hooks or brackets as a mounting solution. Additionally, you must make sure that your animal figurine is firmly secured so that it won’t move or sustain any damage.
We expose the delicate skill of producing large-scale animal figures in fiberglass in this exploration, which opens the door to unlimited creative possibilities. Comprehend every step of the process, from concept to final production.
But keep in mind that this is only the beginning. True exploration never comes to an end. Every struggle and accomplishment will take us to a new goal and a new adventure.
It’s now your turn to do it. Begin your trip and see your imagination grow infinitely. Are you prepared? Let’s get started; we’re excited to see your work and hear your story.
More information: How to produce props with resin?
