
A Step-by-Step Guide to Verifying Retail Display Accuracy in Every Store
By Yan Luo | Samtop Display
A visual display audit checklist helps retailers and brands verify if store installations are correct — ensuring that products, signage, and branding match campaign standards.. This checklist helps global brands verify whether each retail location has correctly installed, positioned, and activated your display system — without needing to visit in person.
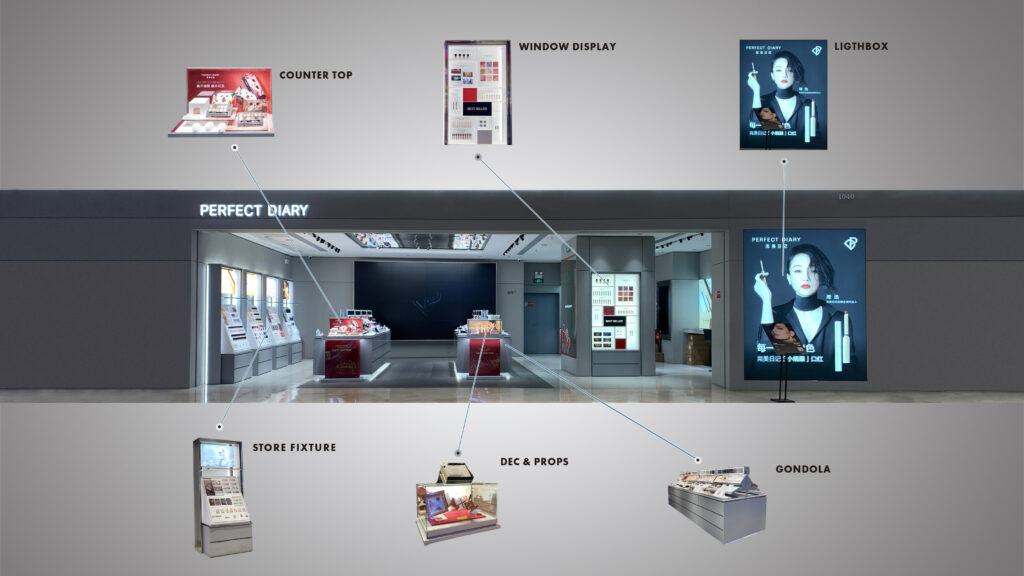
Setting up a visual display in retail can be an intensive process, and often, once it's in place, brands lack the ability to verify if everything is installed and aligned correctly. A misplaced product, a wrong sign, or even a damaged display could result in a missed opportunity to make the right impression, affecting the brand’s perception across thousands of customers.
Without a post-install audit, a small error can create a big problem. Incorrect signage, an improperly placed hero product, or damaged displays can affect a global campaign, leading to wasted time, money, and missed ROI opportunities. Moreover, it may lead to inconsistent brand representation across multiple locations, ultimately undermining the entire display effort.
The Samtop Visual Display Audit Checklist allows you to verify every installation and ensure that your display is positioned and assembled correctly in each store. This audit not only ensures consistency but also helps address issues quickly before they affect the customer experience.
Want to make sure your holiday displays are perfect in every store? Discover how Samtop’s Visual Display Audit Checklist can help you confirm that your displays are installed, positioned, and activated correctly — so you never miss an opportunity to impress your customers. Read on to find out how this tool can save you time, money, and ensure brand consistency.
Why a Visual Display Audit Checklist Protects ROI
| Without an Audit | With an Audit |
|---|---|
| Brand visuals compromised | Consistent brand presence |
| Wrong SKU or signage displayed | Product and message aligned |
| Display damaged but not reported | Issues documented for replacement |
| Missed ROI opportunity | Data for improvement in next campaign |
🧠 One wrong header, one misplaced product, or one crooked tray can change perception across 1,000 customers.
5-Point Retail Display Audit Checklist
| Audit Checkpoint | What to Look For | Common Mistake |
|---|---|---|
| Display Location | Facing traffic zone | Hidden behind shelves |
| Visual Angle | Facing main path/entrance | Angled away from flow |
| Lighting | Bright, no shadow | Dark zones or glare |
| Assembly | No missing/tilted parts | Loose shelves, wrong panel |
| Product Layout | Hero SKU centered | Secondary SKU in hero spot |
Audit Photo Guidelines for Store Teams
- Wide Shot: From 1.5–2m away, showing display in full context
- Close-Up: Focus on logo, product tiers, or print finish
- SKU Focus: Shot of tester or hero product zone
- Lighting View (optional): With display lit to see highlight areas
- Signage Area: Ensure header / message is current
📩 Photos should be submitted within 24–48h after setup, via shared folder, email, or QR-linked portal.
Using a structured visual display audit checklist prevents common installation mistakes in global retail campaigns.
Real Case: Mid-Campaign Audit Saved $3,000+
- Brand: Global watch group, EU rollout
- Issue Detected:
- 12 stores reversed the tray layout
- 4 stores installed wrong campaign card
- 1 store reported broken logo panel
Audit Result:
- Replacements arranged before holiday weekend
- Quick fix PDF sent via QR
- Result: Correct setup restored in <72 hours
Optional Download: Audit Checklist Template (DOCX + XLSX)
We offer a fully editable Display Visual Audit Checklist that includes:
- Tick-box format for each checkpoint
- Region/store column
- Comment & photo upload fields
- Auto-summary of pass/fail by store
📧 Email yan@samtop.com to request your version.