Strategic Locations to Capture Shopper Attention and Drive Unplanned Sales
By Yan Luo | Samtop Display
The best POP display placement for impulse sales is in high-traffic areas like checkout counters, store entrances, aisle endcaps, tester zones, and cross-sell locations. These spots capture attention, trigger unplanned purchases, and maximize ROI.
Retail foot traffic moves fast. Attention spans are short. A great prop stuck by the stockroom or buried in a low-traffic corner gets zero ROI. On the other hand, moving a display by just 1 meter — to a checkout counter or aisle end — can double its performance.
At Samtop, we’ve supported over 2,000 rollouts and tracked where POP displays perform best. From checkout to tester zones, this guide shows you how to position your display for maximum impulse and interaction.
The most effective POP displays are placed in high-traffic, low-decision areas like checkout counters, store entrances, and aisle endcaps. Positioning them where shoppers naturally pause or browse leads to higher impulse purchases and better ROI.
“We moved our tray 1 meter — and sales jumped 47%.”
Location can make or break a campaign. This article reveals the 5 highest-performing display spots in retail, with real data, formats, and layout tips for impulse-driven conversion.
🧭 Top 5 POP Display Placement Locations
🧾 1. Checkout / Cash Wrap Area
- Shoppers are idle but in buying mode
- Decision fatigue low, basket in hand
- Ideal for trial-size, GWP triggers, and “Why not?” purchases
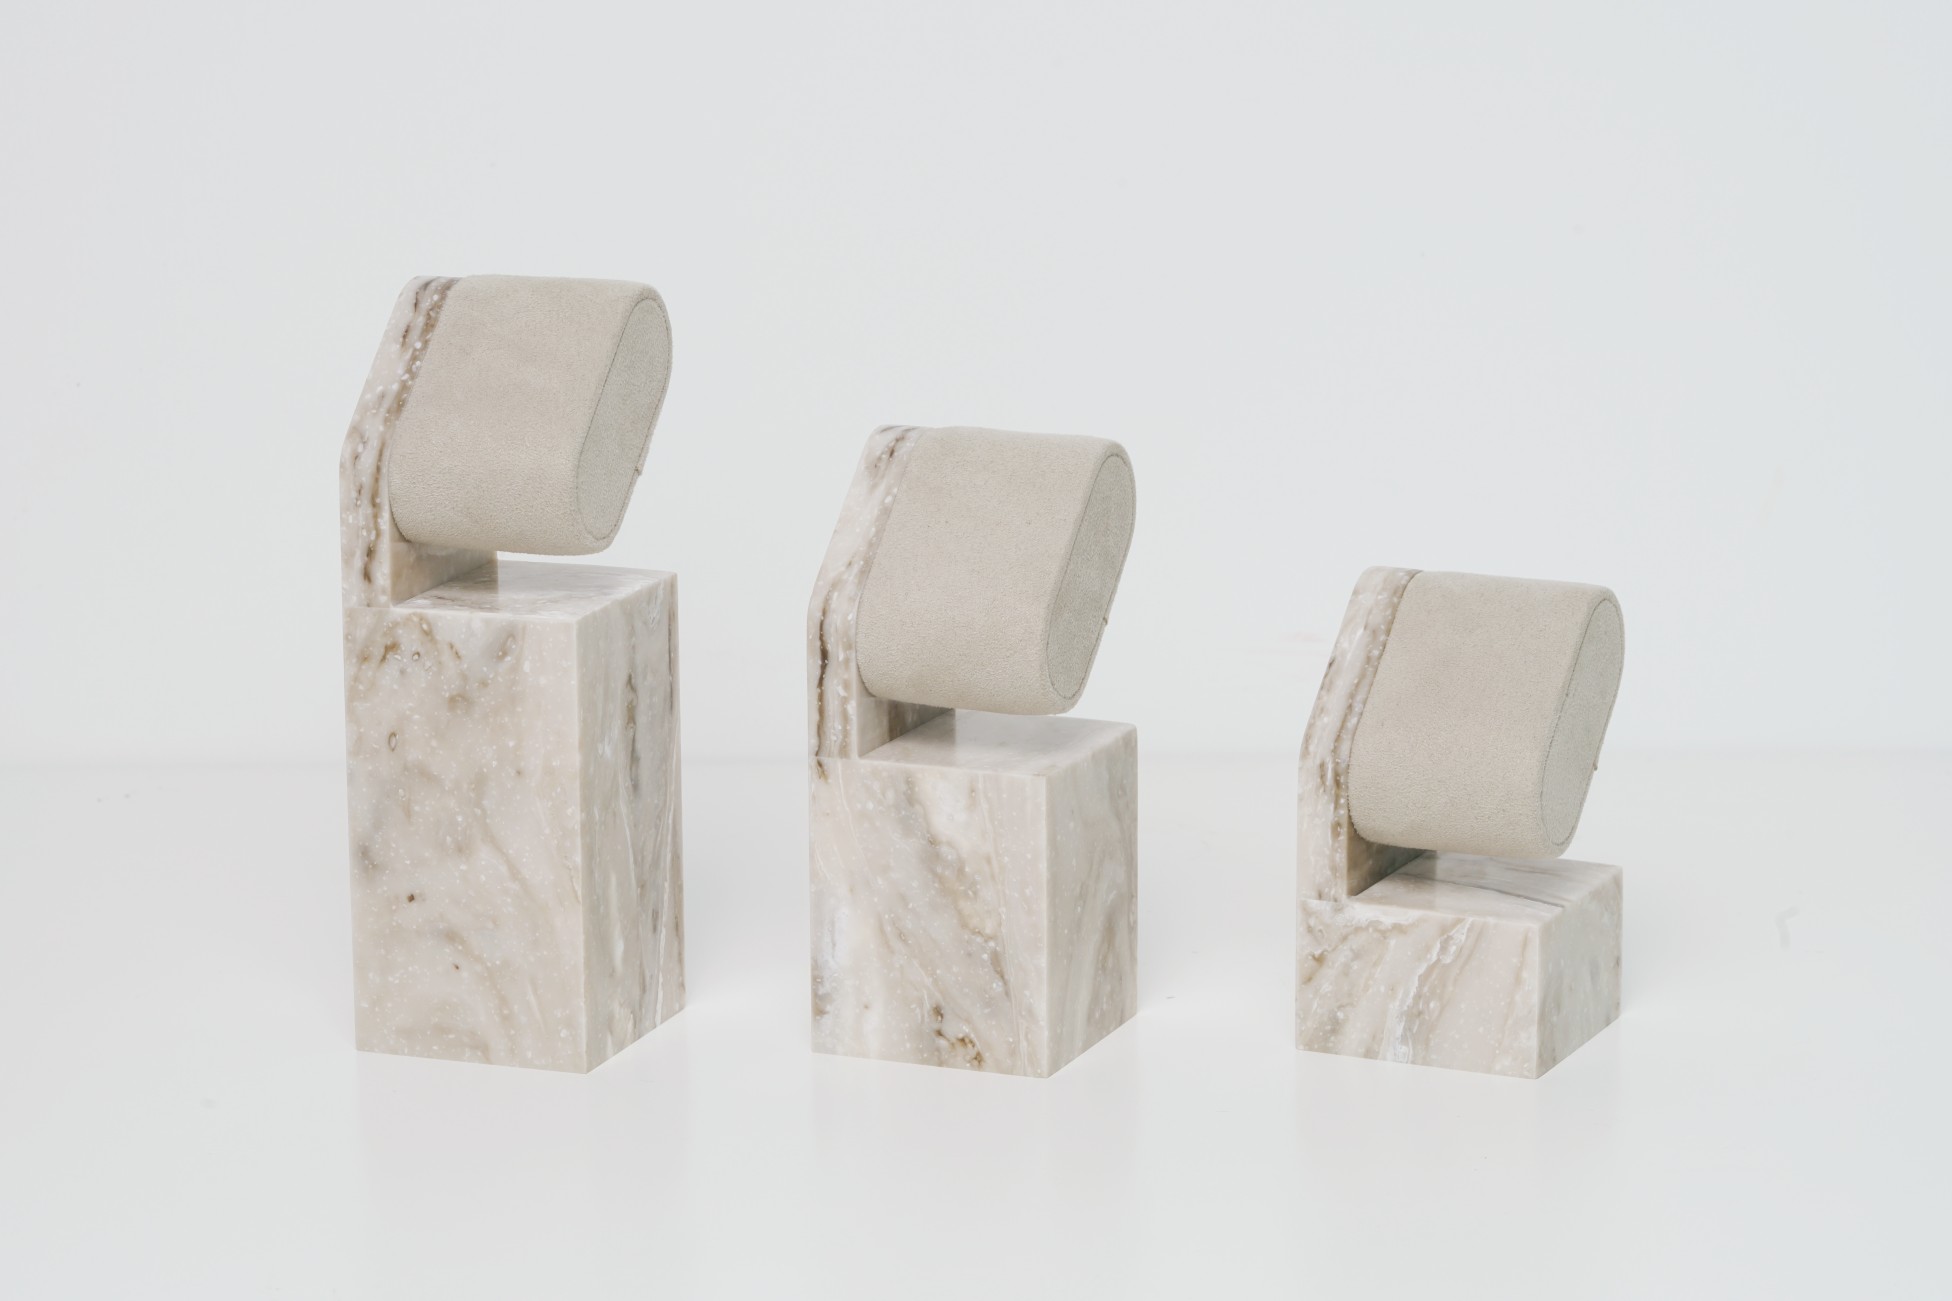
📦 Best Display Format: Compact riser, mirrored tray, mini gravity feeder
🚪 2. Store Entrance / Decompression Zone
- Captures attention in the first 5 seconds
- Supports seasonal campaigns and flagship launches
- Pairs well with window displays
📦 Best Display Format: Pedestal, glorifier with backboard, hero unit
🛒 3. Endcap of Aisle
- High visibility with no aisle commitment
- Retailer-preferred for co-funded displays
- Works for new launches, bundles, or “Best of” SKUs
📦 Best Display Format: Tiered unit, lightbox shelf, wraparound header tray
👁️ 4. Tester Zones (Eye-Level Shelf Inserts)
- Engaged shoppers exploring texture or scent
- Branded tester trays guide interaction
- Supports QR scans, scent cards, and mirrors
📦 Best Display Format: Acrylic insert, RPET tray with logo, mirrored testers
🔁 5. Between Categories / Cross-Sell Zones
- Places product where it’s not expected = surprise factor
- Supports bundles, GWP, and discovery formats
- Strong for holiday and new user routines
📦 Best Display Format: Compact mobile tray, hook-on mini glorifier
Why POP Display Placement Drives Impulse Purchases
| Placement | Shopper Emotion | What Works Best |
|---|---|---|
| Checkout | “Why not?” | Trial kits, travel SKUs, bundle add-ons |
| Store Entrance | “What’s new?” | Hero products, seasonal messages |
| Endcap | “This looks important” | Lightbox trays, product pyramids |
| Tester Zone | “I want to try this” | Texture-led trays, mirrors, scent demos |
| Cross-Sell Zones | “I didn’t expect this” | Bundles, serums next to fragrance, etc. |
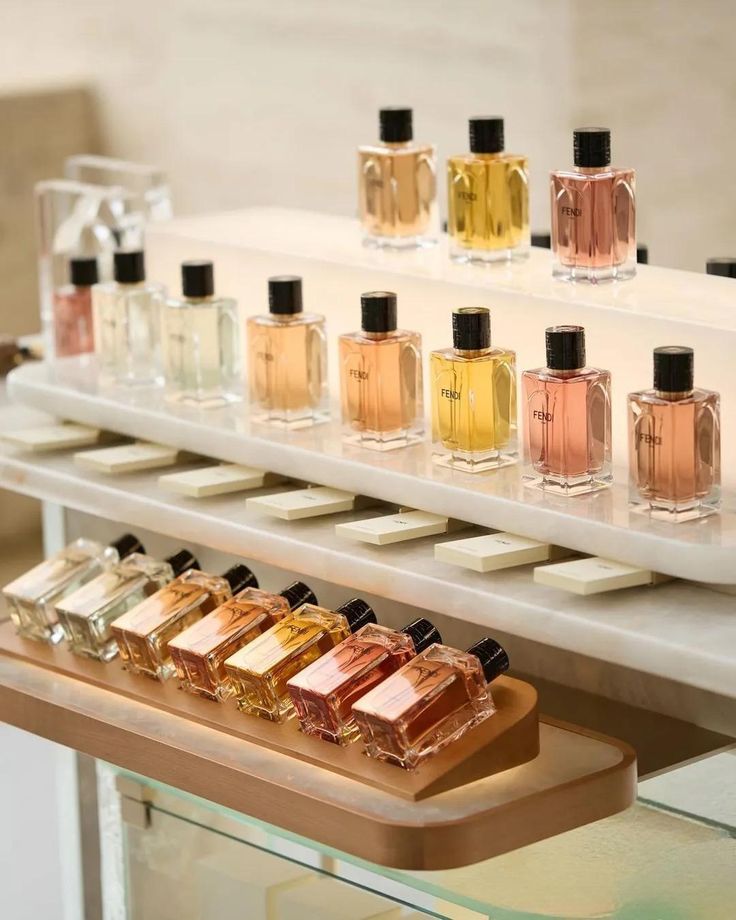
🧩 Case Study: Sales Uplift from Better POP Display Placement
Brand: Global fragrance group
Before: Tester tray placed mid-gondola
After: Moved to checkout counter, slightly angled toward queue line
✅ Results:
- Tester interaction ↑ 3x
- Sell-through ↑ 47% within 4 weeks
- Retailer rolled out placement change chain-wide
🛠️ Tips for Optimizing POP Display Placement
✅ 1. Pre-Negotiate Placement
Work with retailers during campaign planning to reserve high-traffic locations.