
Commonly used categories
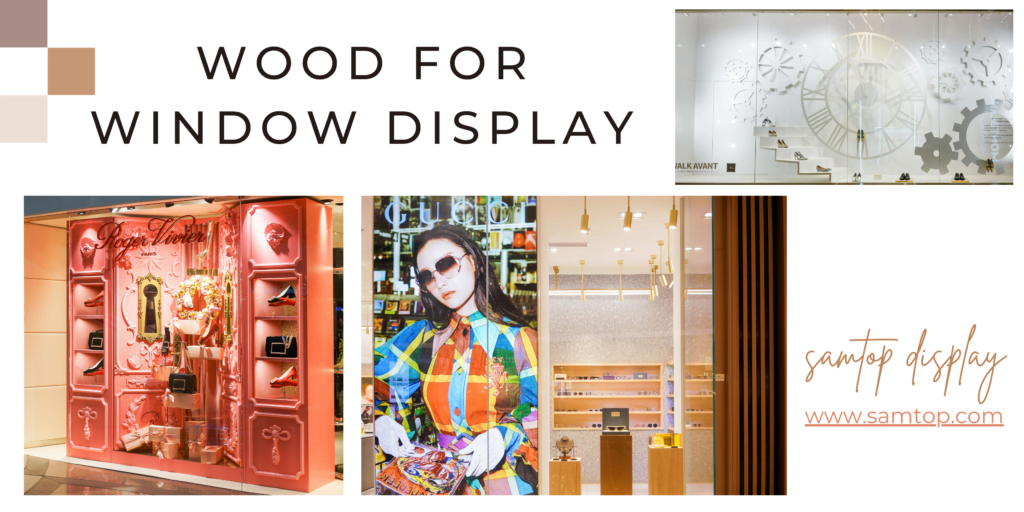
Walking through the city, your gaze strays toward a window display. What is it that captures your attention? Maybe it's the delicate arrangement of merchandise, or perhaps it's the twinkling fairy lights. But have you considered what's beneath all that? Today, let's talk about an unsung hero of window displays: wood.
- Themed displays: You can carve and paint wood to create all sorts of themed window displays. Like, imagine a forest theme with carved trees, critters, and other bits of nature. Or a seaside theme with wooden sailboats, lighthouses, and seagulls.
- Display racks and shelves: Wood is a dream for making window display racks and shelves. These can be custom designed to suit your needs, from simple flat shelves to more complex multi-tiered displays.
- Wooden signs and graphics: Wood can be cut and carved into various shapes and letters for signs and graphics. These can be used to showcase the store's name, promote sales, or add a festive touch.
- Decorative elements: You can cut, carve, and paint wood into all sorts of decorative elements like wreaths, snowflakes, stars, and whatnot. These can be used to decorate the window and add a festive or seasonal touch.
- Wooden furniture and lifestyle items: If your store sells furniture or lifestyle items, you could create mini models of these items in wood to decorate your window.
Production steps
All in all, the possibilities are pretty much endless when it comes to using wood for window displays. Whether it's large structures or small decorative elements, wood brings a natural, warm vibe that's really eye-catching.
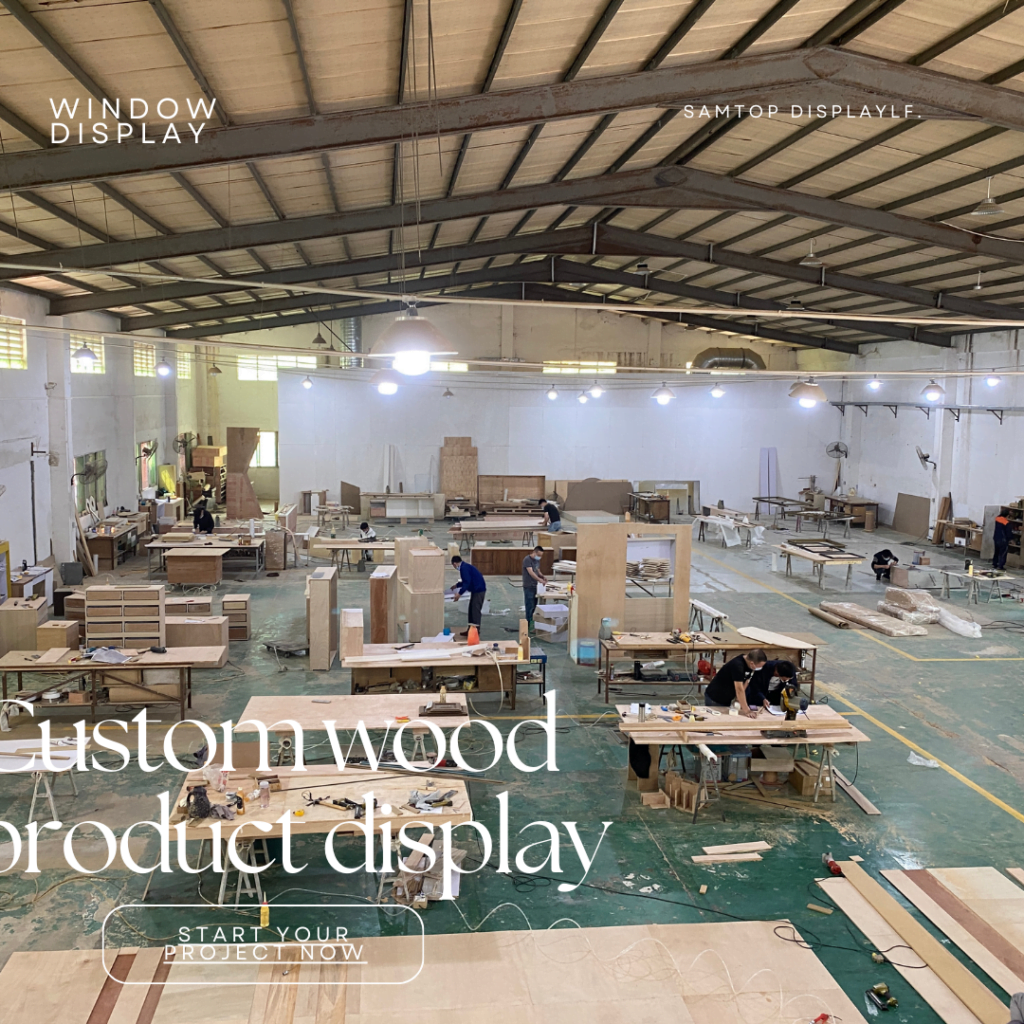
- Design: First, you gotta sketch out your screen. You can doodle it by hand or use a computer program like AutoCAD or SketchUp. Make sure you've got the right size for your screen and each panel, and don't forget the gaps for the hinges.
- Pick your materials: For the wood, think about its hardness, texture, and color. Common options are pine (cheap and easy to work with), oak (hard and durable), and walnut (pretty color and texture). You'll also need to pick the right hinges, either one-way or two-way, depending on your needs. And don't forget to grab some wood glue, paint, and screws for assembly.
3. Cut the wood: Grab your power saw or hand saw and start cutting. Measure each piece of wood accurately and cut it according to the pre-determined size. Make sure it's precise or you'll run into issues when assembling. If the wood is rough after cutting, just sand it down.
4. Put it together: First, use wood glue to stick together the edges of the panels and wait for it to dry. Then, screw it together for extra strength. You want to install the hinges at the top and bottom of the screen so it swings smoothly. When you're installing the hinges, make sure the panels line up or you'll have trouble swinging the screen.