
A custom illuminated display may look simple in a rendering, but transforming it into a luxury retail display requires careful engineering, concealed LED integration, precision fabrication, and reliable installation planning. The difficulty begins once that design moves into production. LEDs create visible hotspots, wires appear behind thin metal parts, multiple props become hard to align, and one failed light can force installers to dismantle the entire display.
Modern LED systems are widely used in retail displays because of their energy efficiency and long service life. However, a prop that looks beautiful in a rendering can still feel unfinished once it reaches the store if the lighting, wiring, and mounting details are not properly engineered.
The solution is to treat lighting, structure, wiring, and mounting as one integrated system after the visual direction is approved, rather than solving each problem separately. In this project, Samtop developed a series of metal dragonfly-inspired illuminated display props for a luxury retail environment. Each unit combines a fabricated metal silhouette, a concealed LED light source, a hollow support tube for hidden wiring, and a modular connection system designed for installation and maintenance.
At its core, an illuminated display is a retail fixture or decorative element that integrates LED lighting into its structure while hiding the light source, wiring, and mounting hardware. The finished effect may appear as a controlled halo, wall wash, or backlit glow. This guide explains what is hidden behind that effect, from LED positioning and cable routing to modular installation and full-panel lighting tests.
This guide is written for retail design companies, creative agencies, brand VM teams, advertising agencies, and sourcing teams that already have an approved visual direction and need a production partner to turn an illuminated display concept into a store-ready installation.
What Counts as a Custom Illuminated Display, and Why Is It Hard to Get Right?
Illuminated display is a broad term. It can describe a backlit graphic panel, a lightbox, an illuminated shelf, an illuminated display case, or, as in this project, a collection of decorative display props with built-in light sources.
What makes these displays difficult to manufacture well is the same set of recurring problems. LEDs can create visible hotspots when they sit too close to a reflective surface, exposed wiring can undermine an otherwise premium finish, light output can vary from one unit to another, and fully assembled structures can become difficult to service. A custom illuminated display prop earns its name by solving all of these issues together, not by simply adding a light source to a decorative shape.
That distinction is easy to describe but difficult to execute. Retail display lighting must survive shipping, installation, repeated use, and real store maintenance. Most of the engineering work in this project focused on making sure the finished display could perform reliably in those real-world conditions.
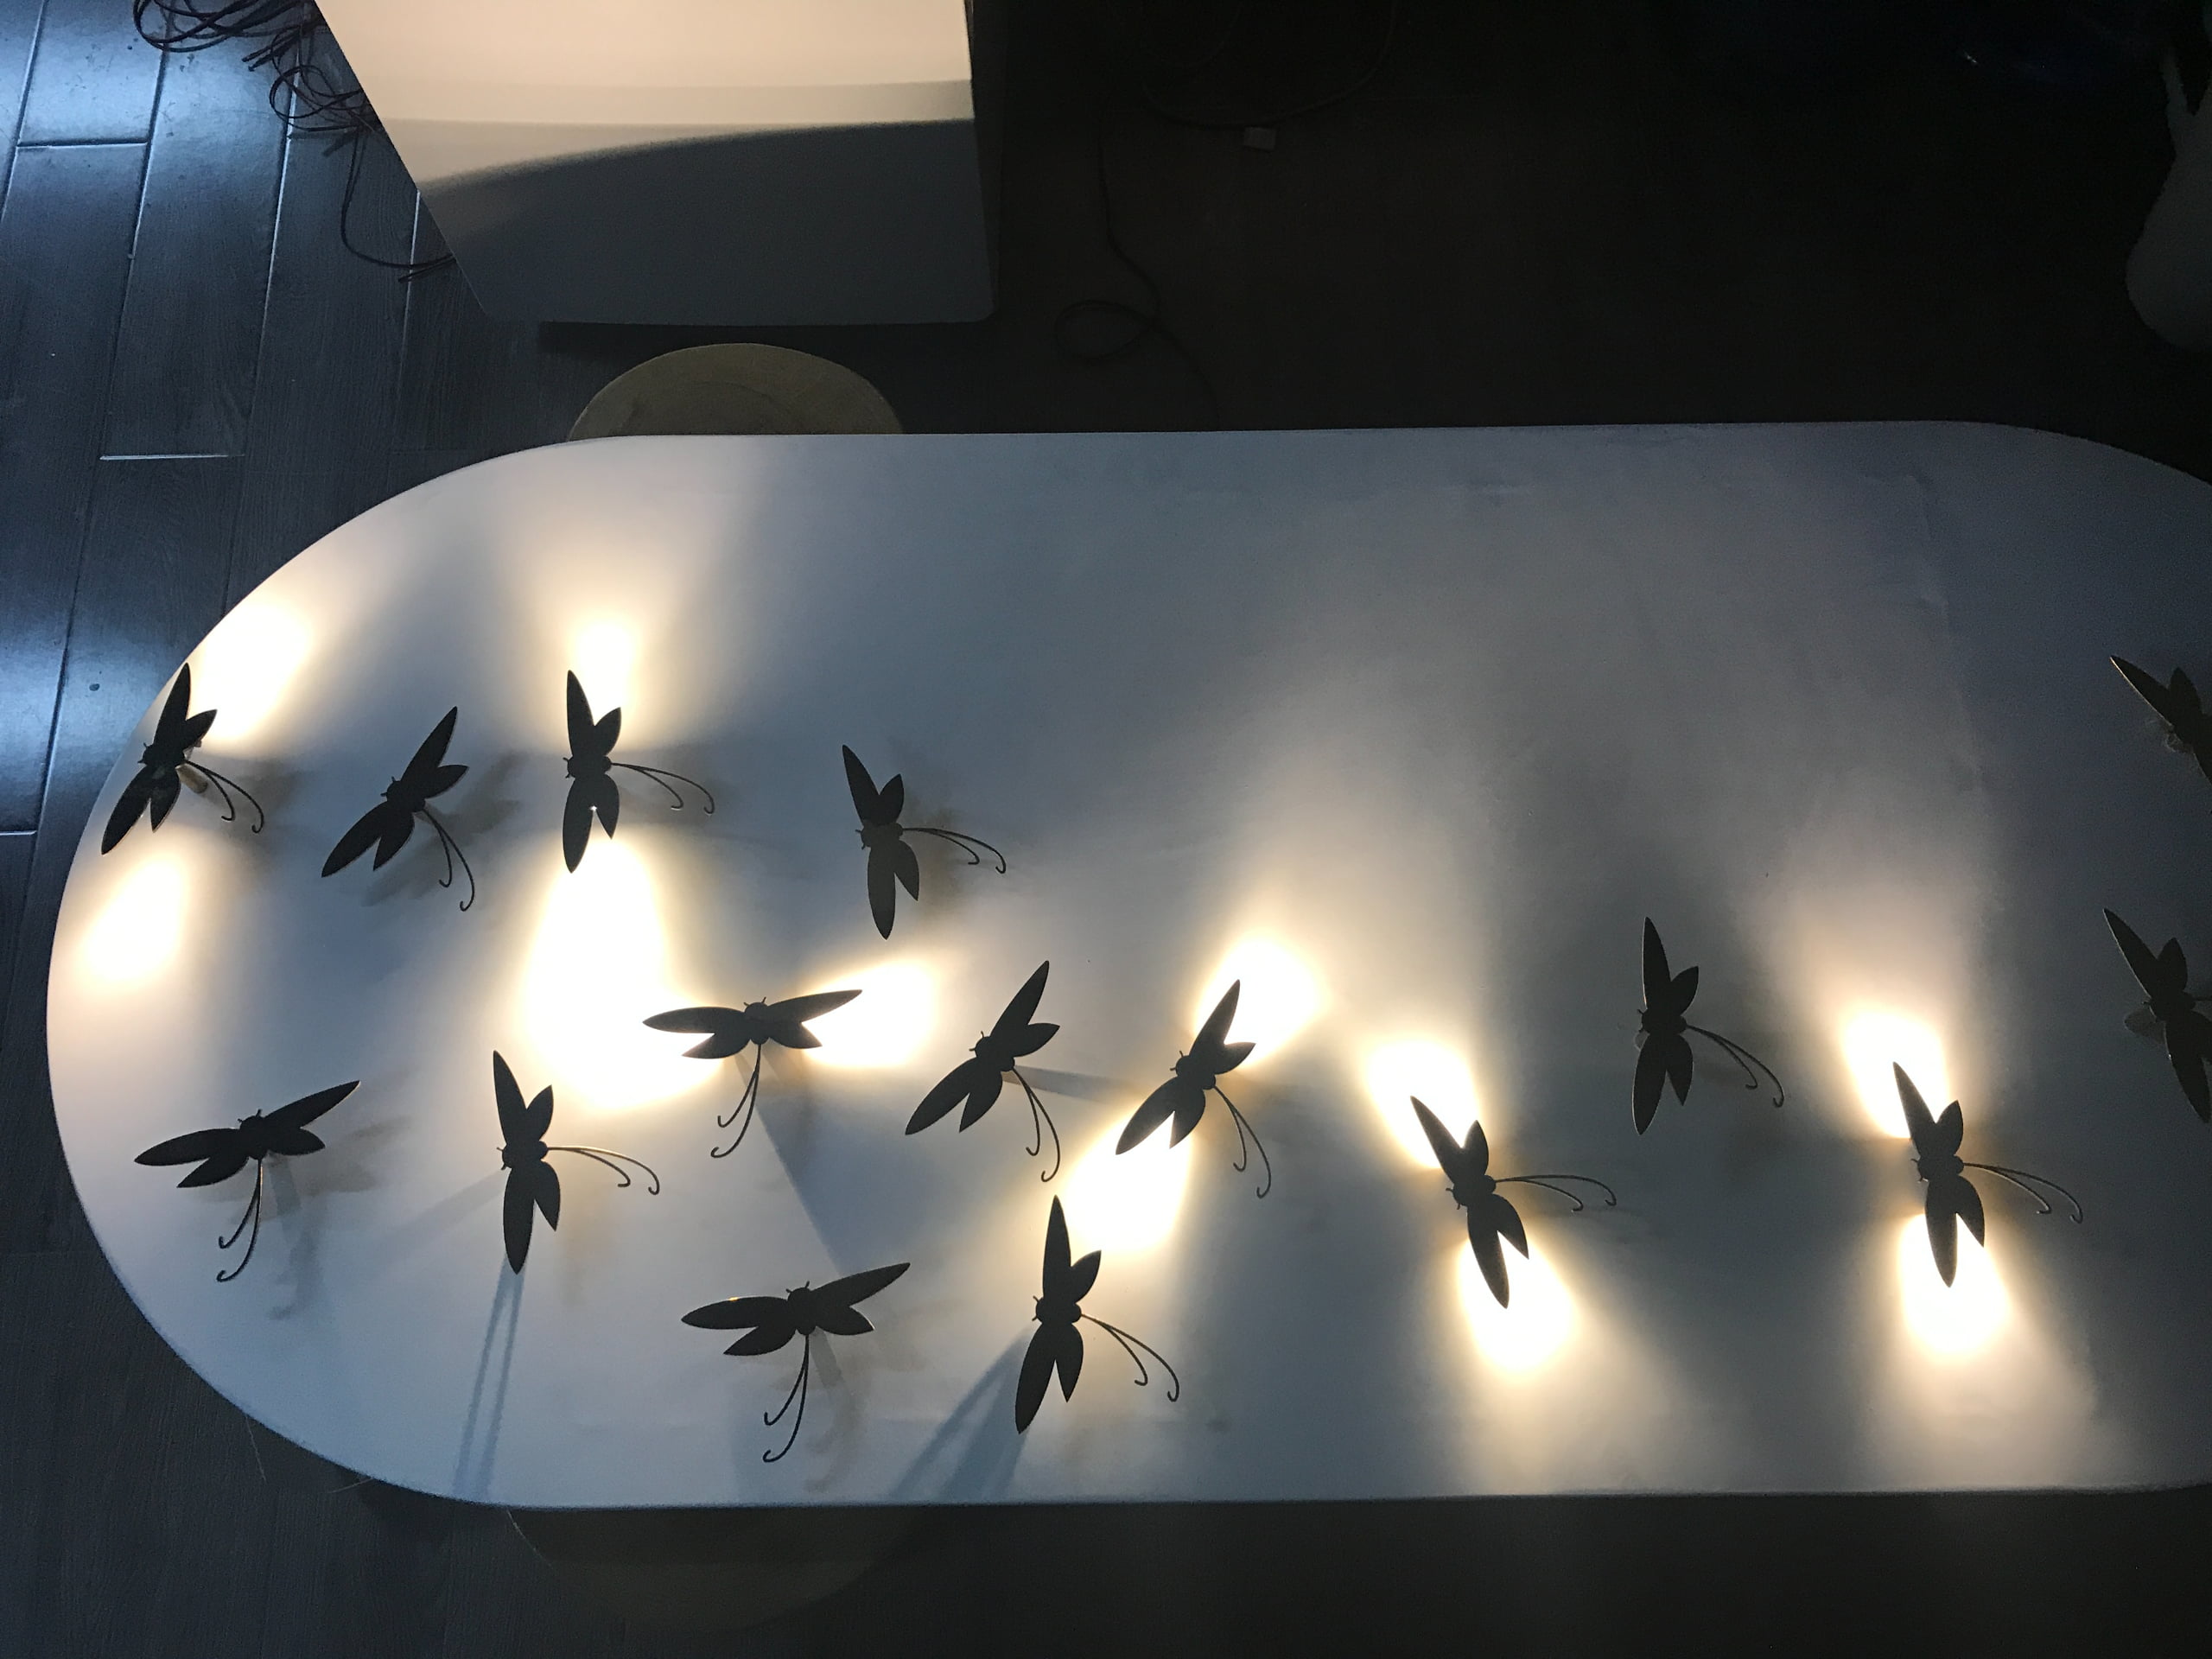
Inside the Custom Illuminated Display Props We Built
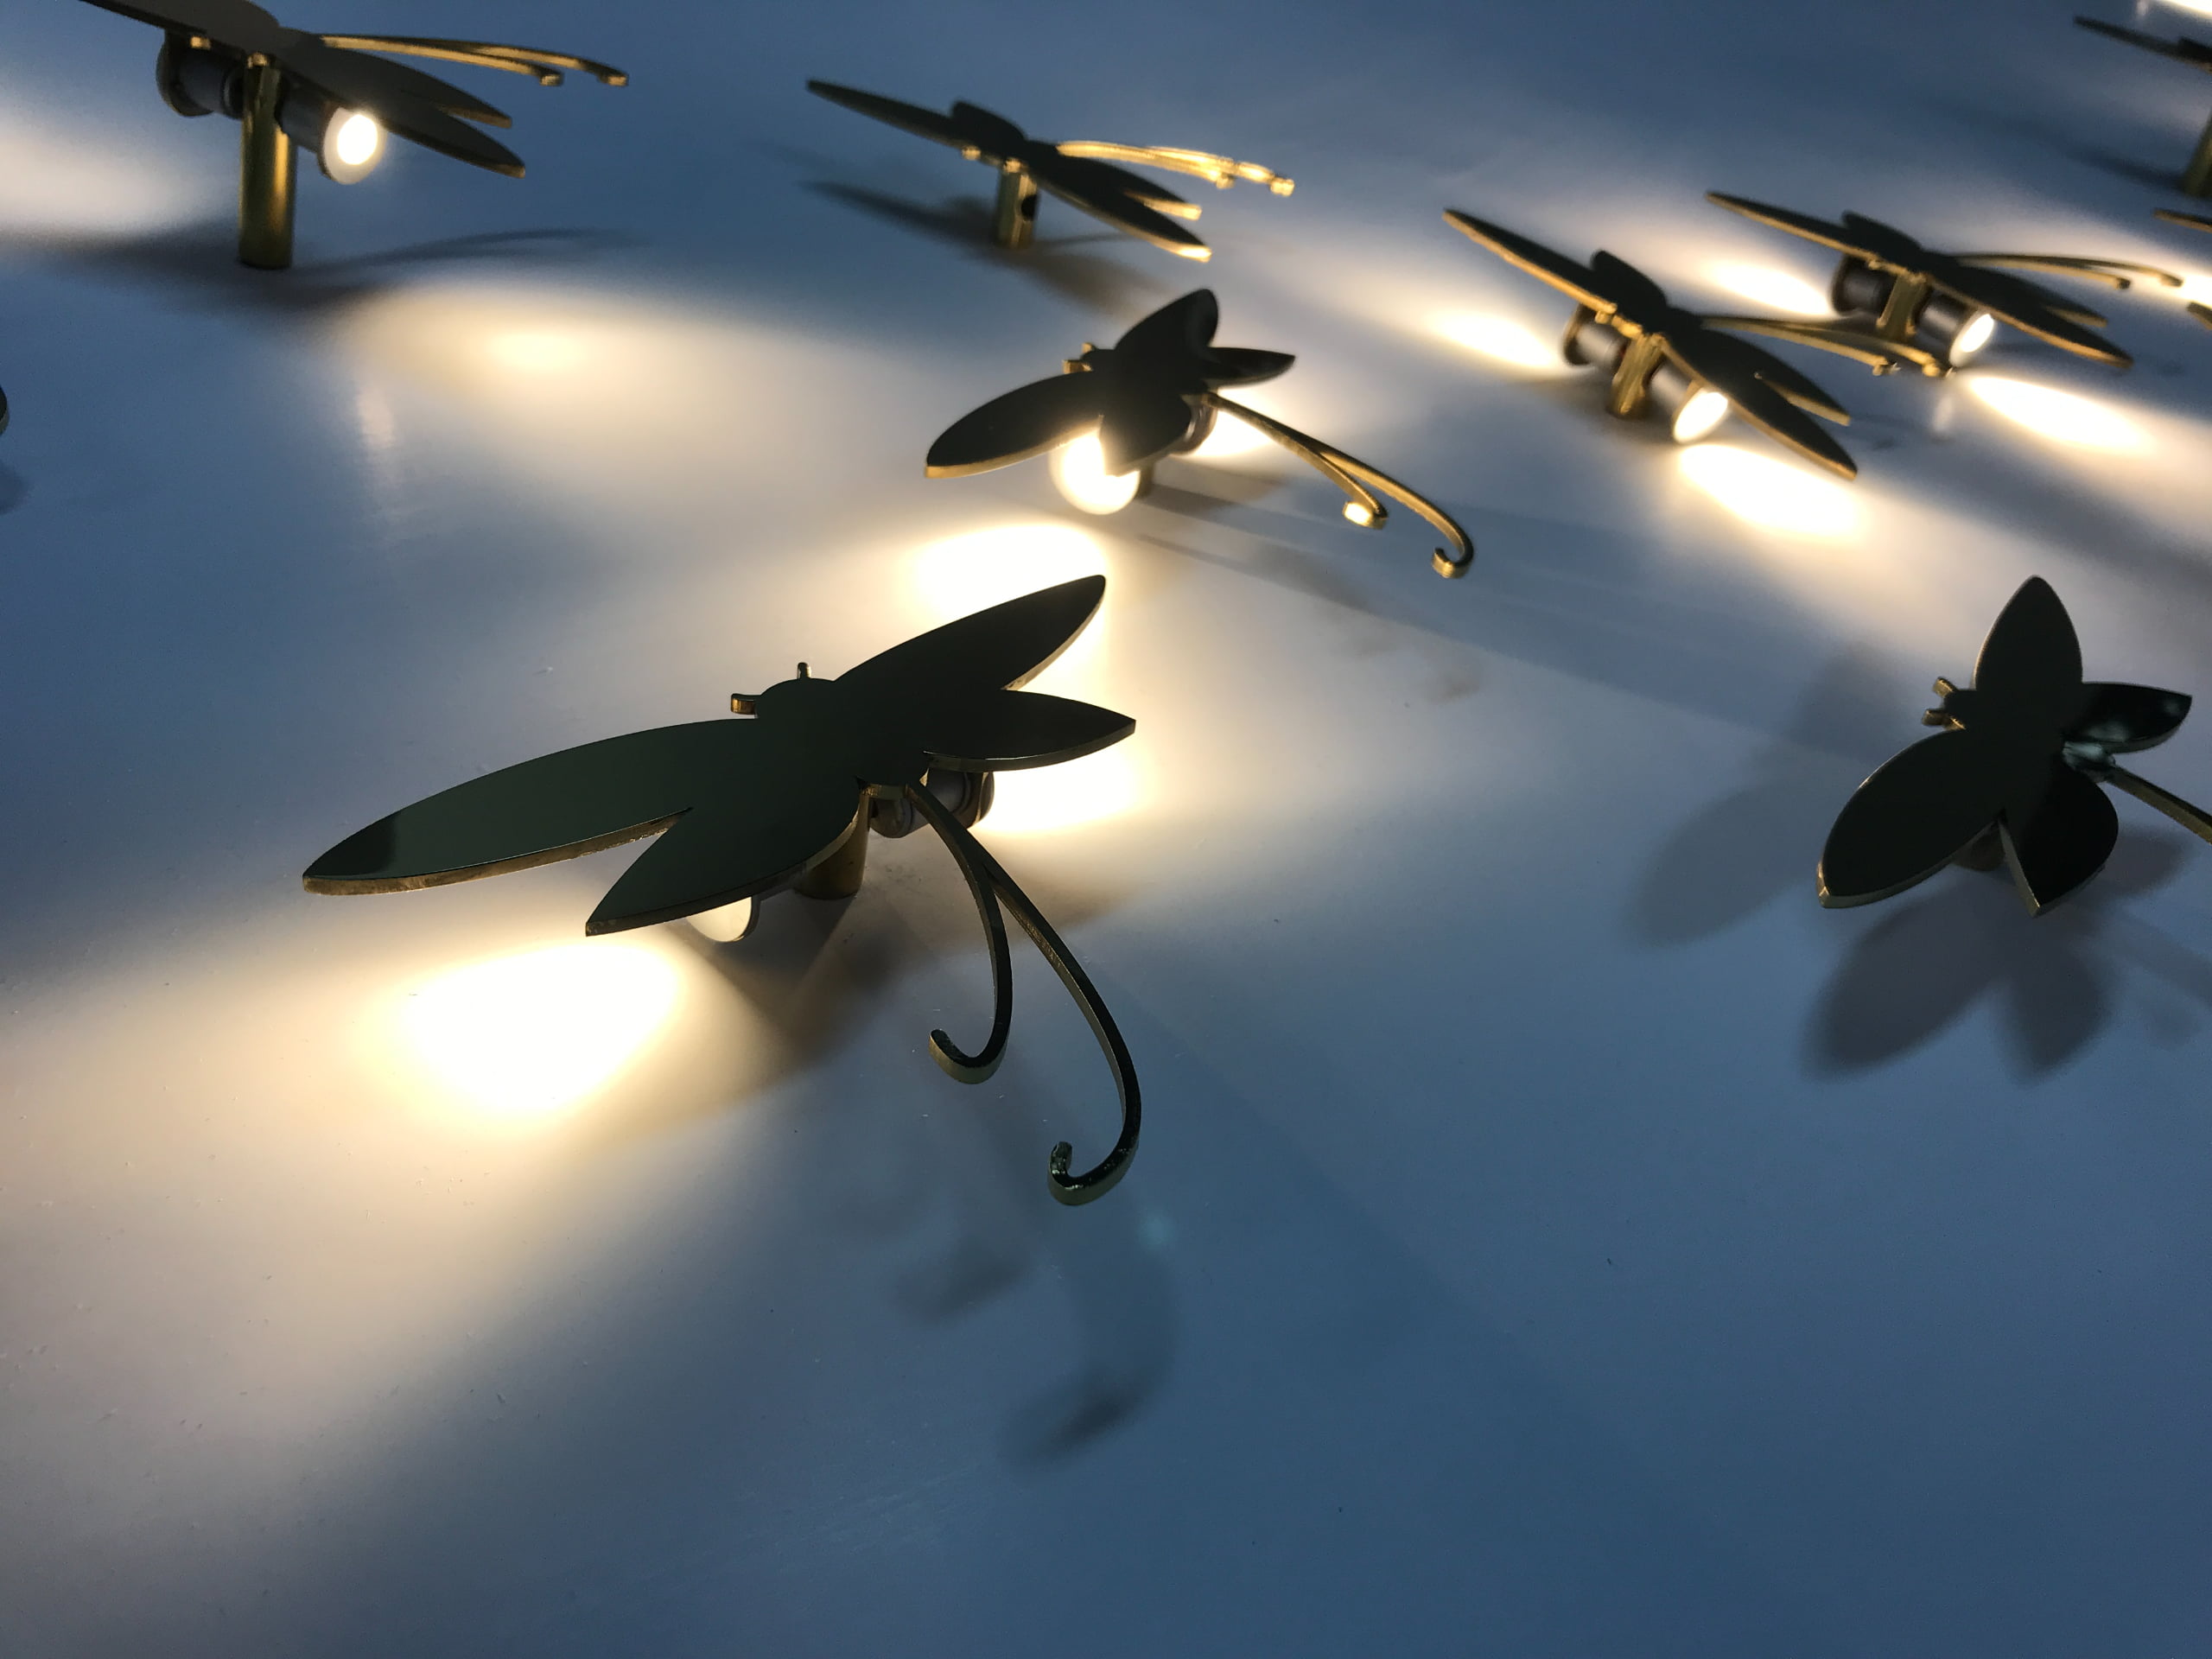
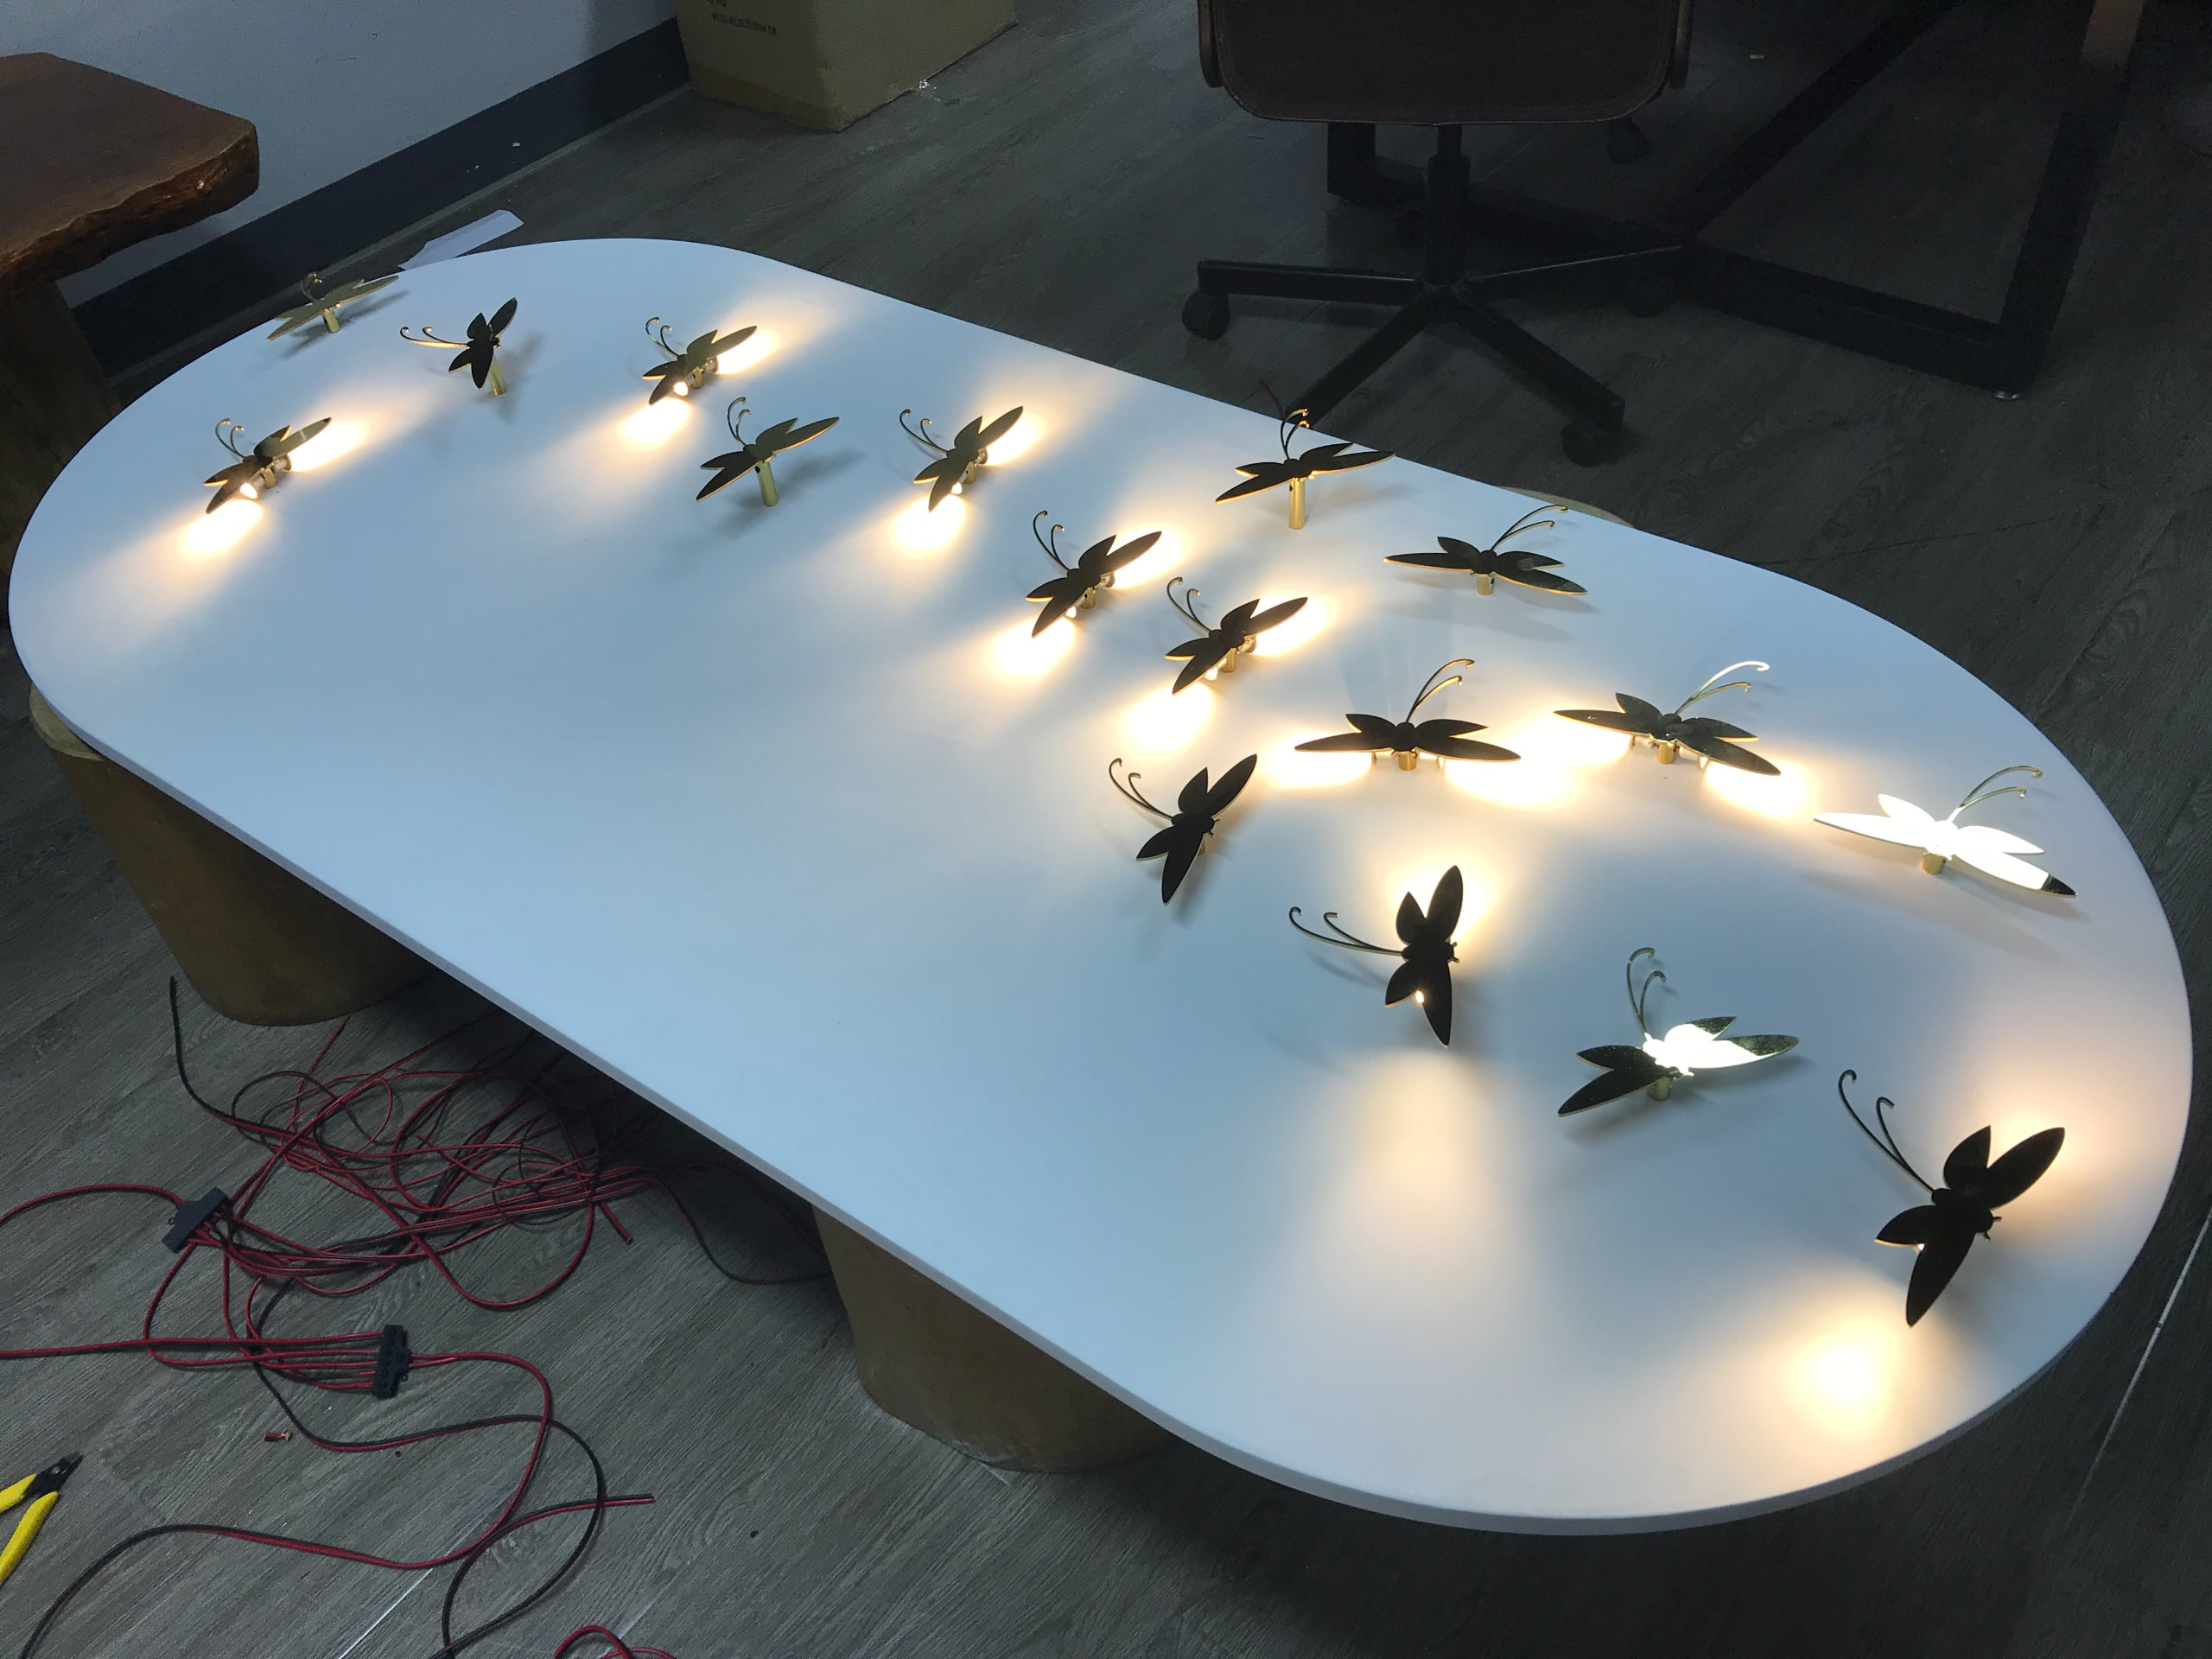
The project called for a cluster of metal dragonfly silhouettes mounted at different heights and angles across a display panel, with each prop producing a warm point of light. From a distance, the installation needed to read as decorative art. Up close, it could not reveal visible wiring, screws, or lighting hardware.
Each metal display prop was built from five functional layers working together. The decorative metal body was cut and polished to reflect the LED glow, which meant the finish had to be checked as carefully as the silhouette itself. The concealed LED sat behind the body to create a halo or wall-wash effect rather than lighting the object directly from the front.
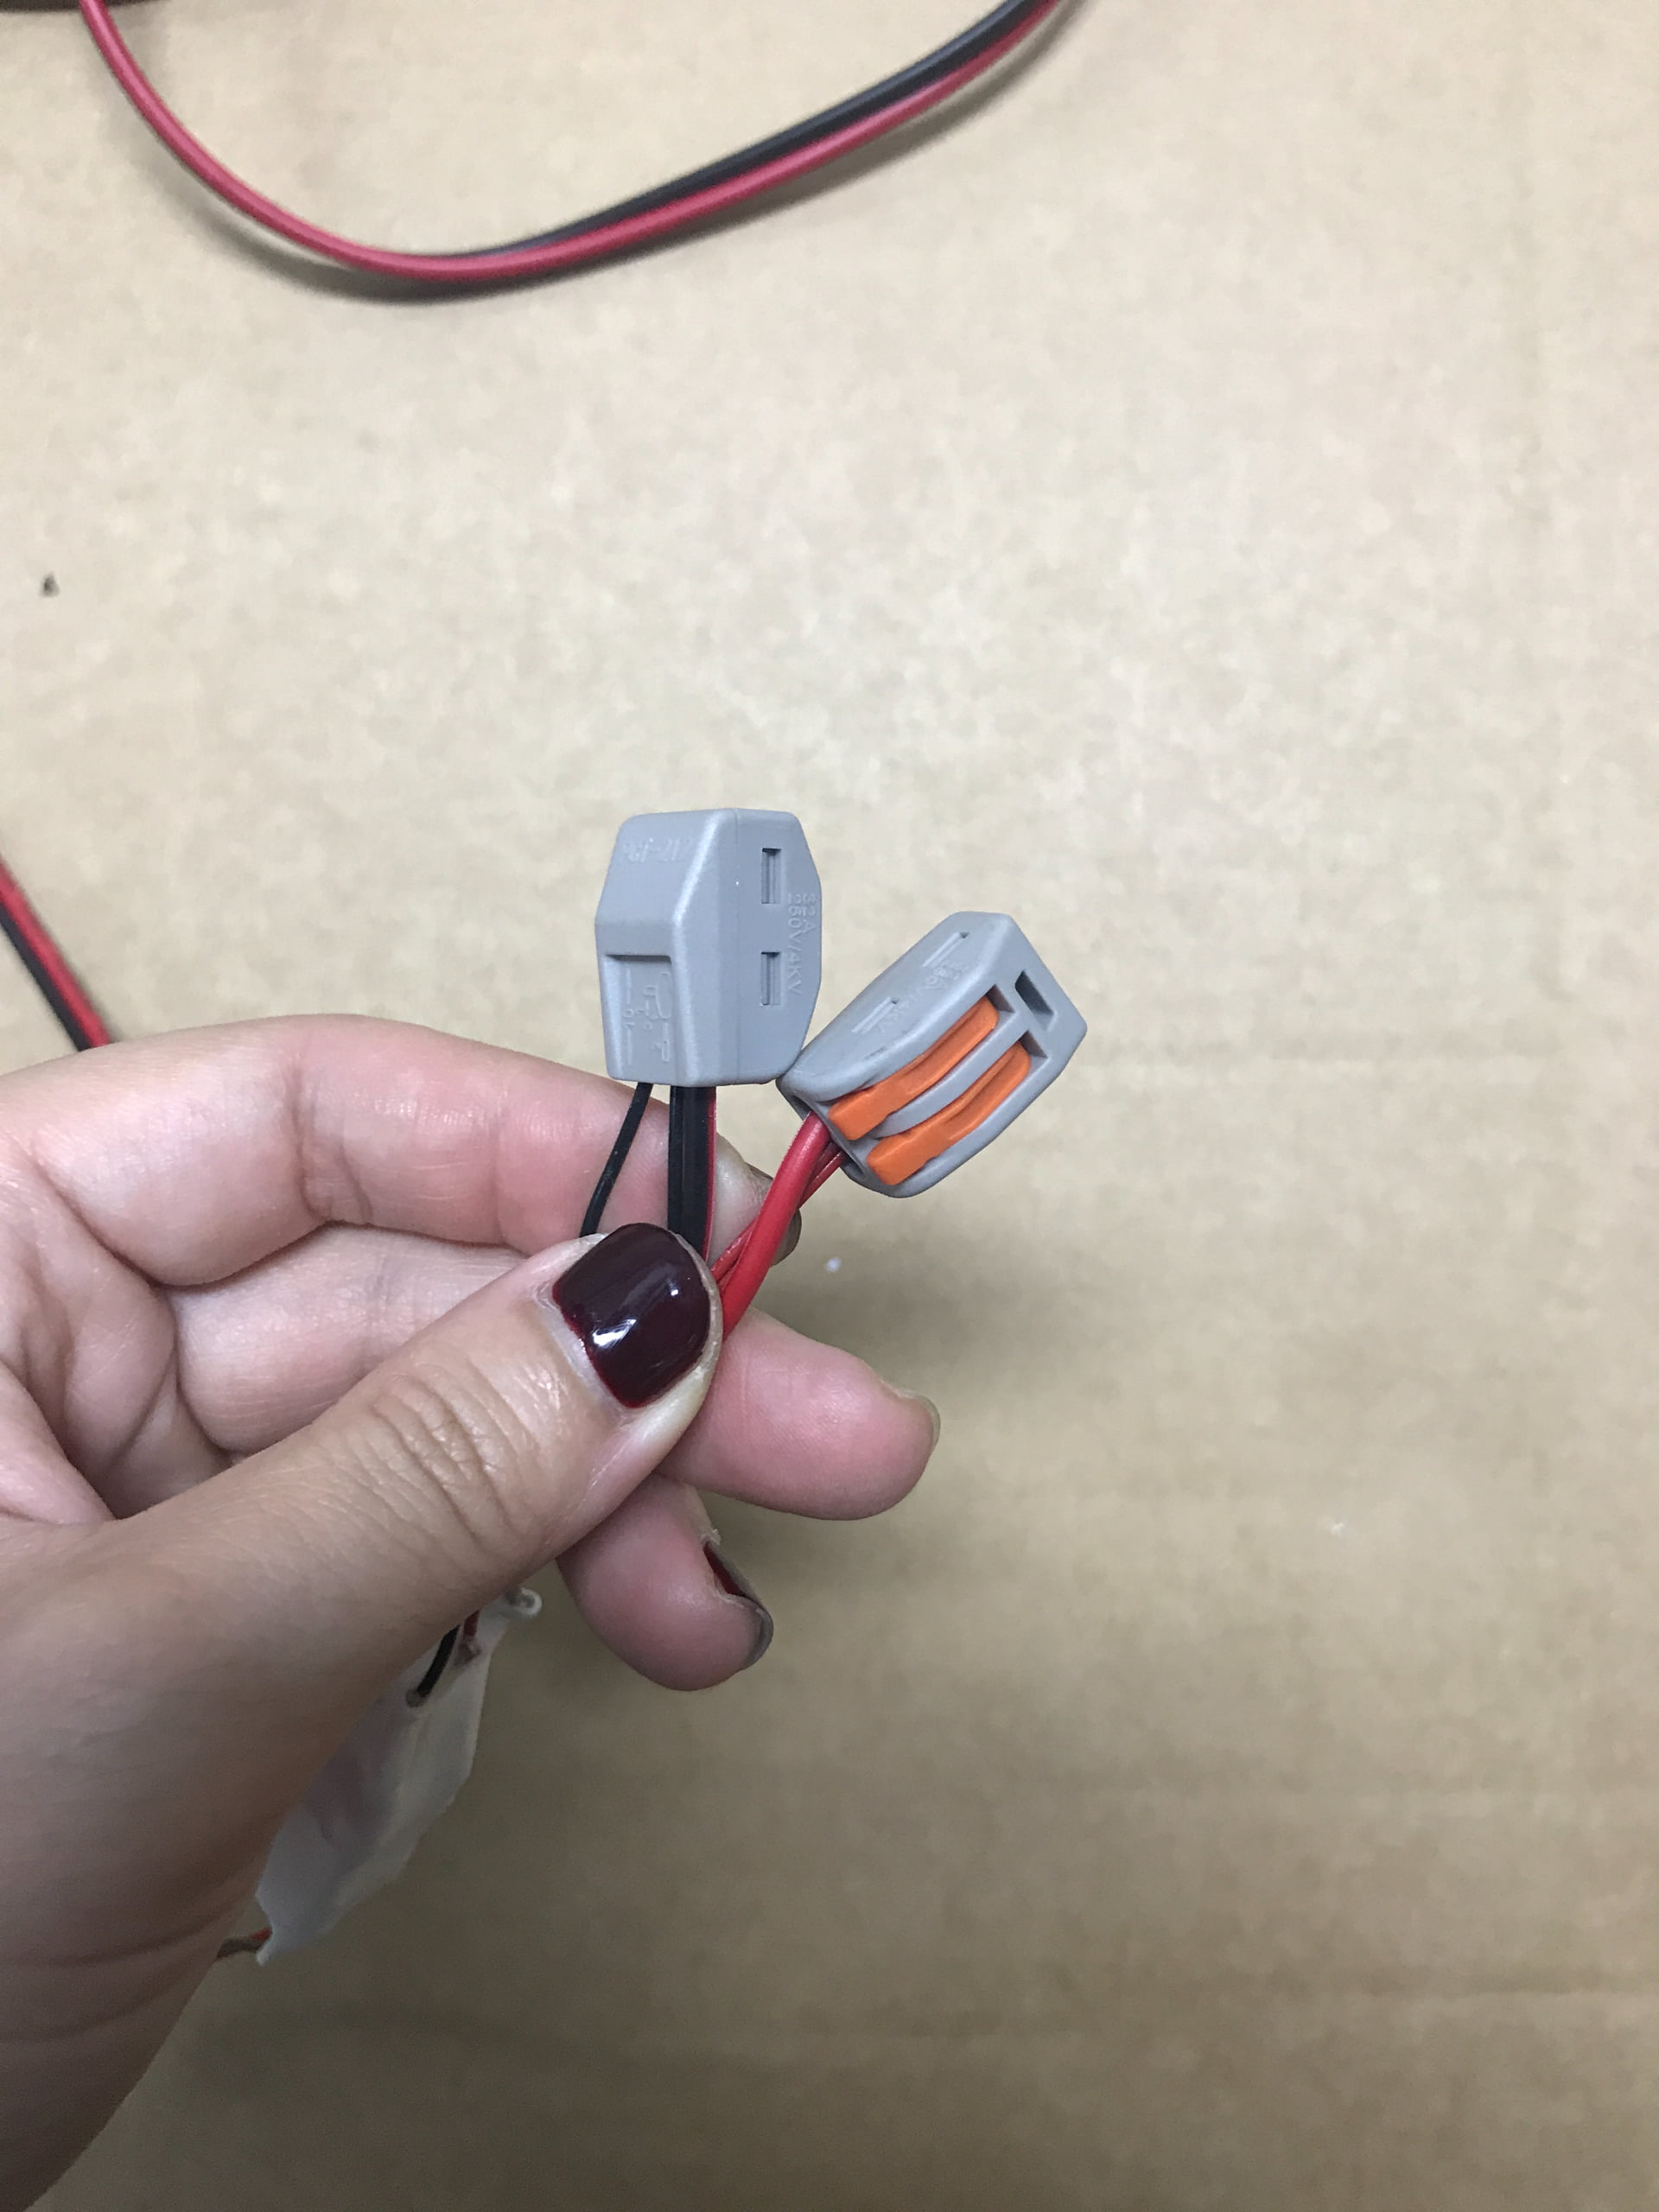
A slim support tube held each prop at the correct angle while also acting as a concealed cable channel back to the panel. This allowed one hollow component to solve mounting, wiring, and structural support at the same time. Each unit then connected through a modular terminal into a shared wiring harness instead of relying on individual hand-soldered cable runs.
Behind the visible panel, a reinforced rear structure carried the weight, wiring, and mounting force. A thin decorative panel alone would not have been strong enough to support the installation during transport, assembly, and long-term use.
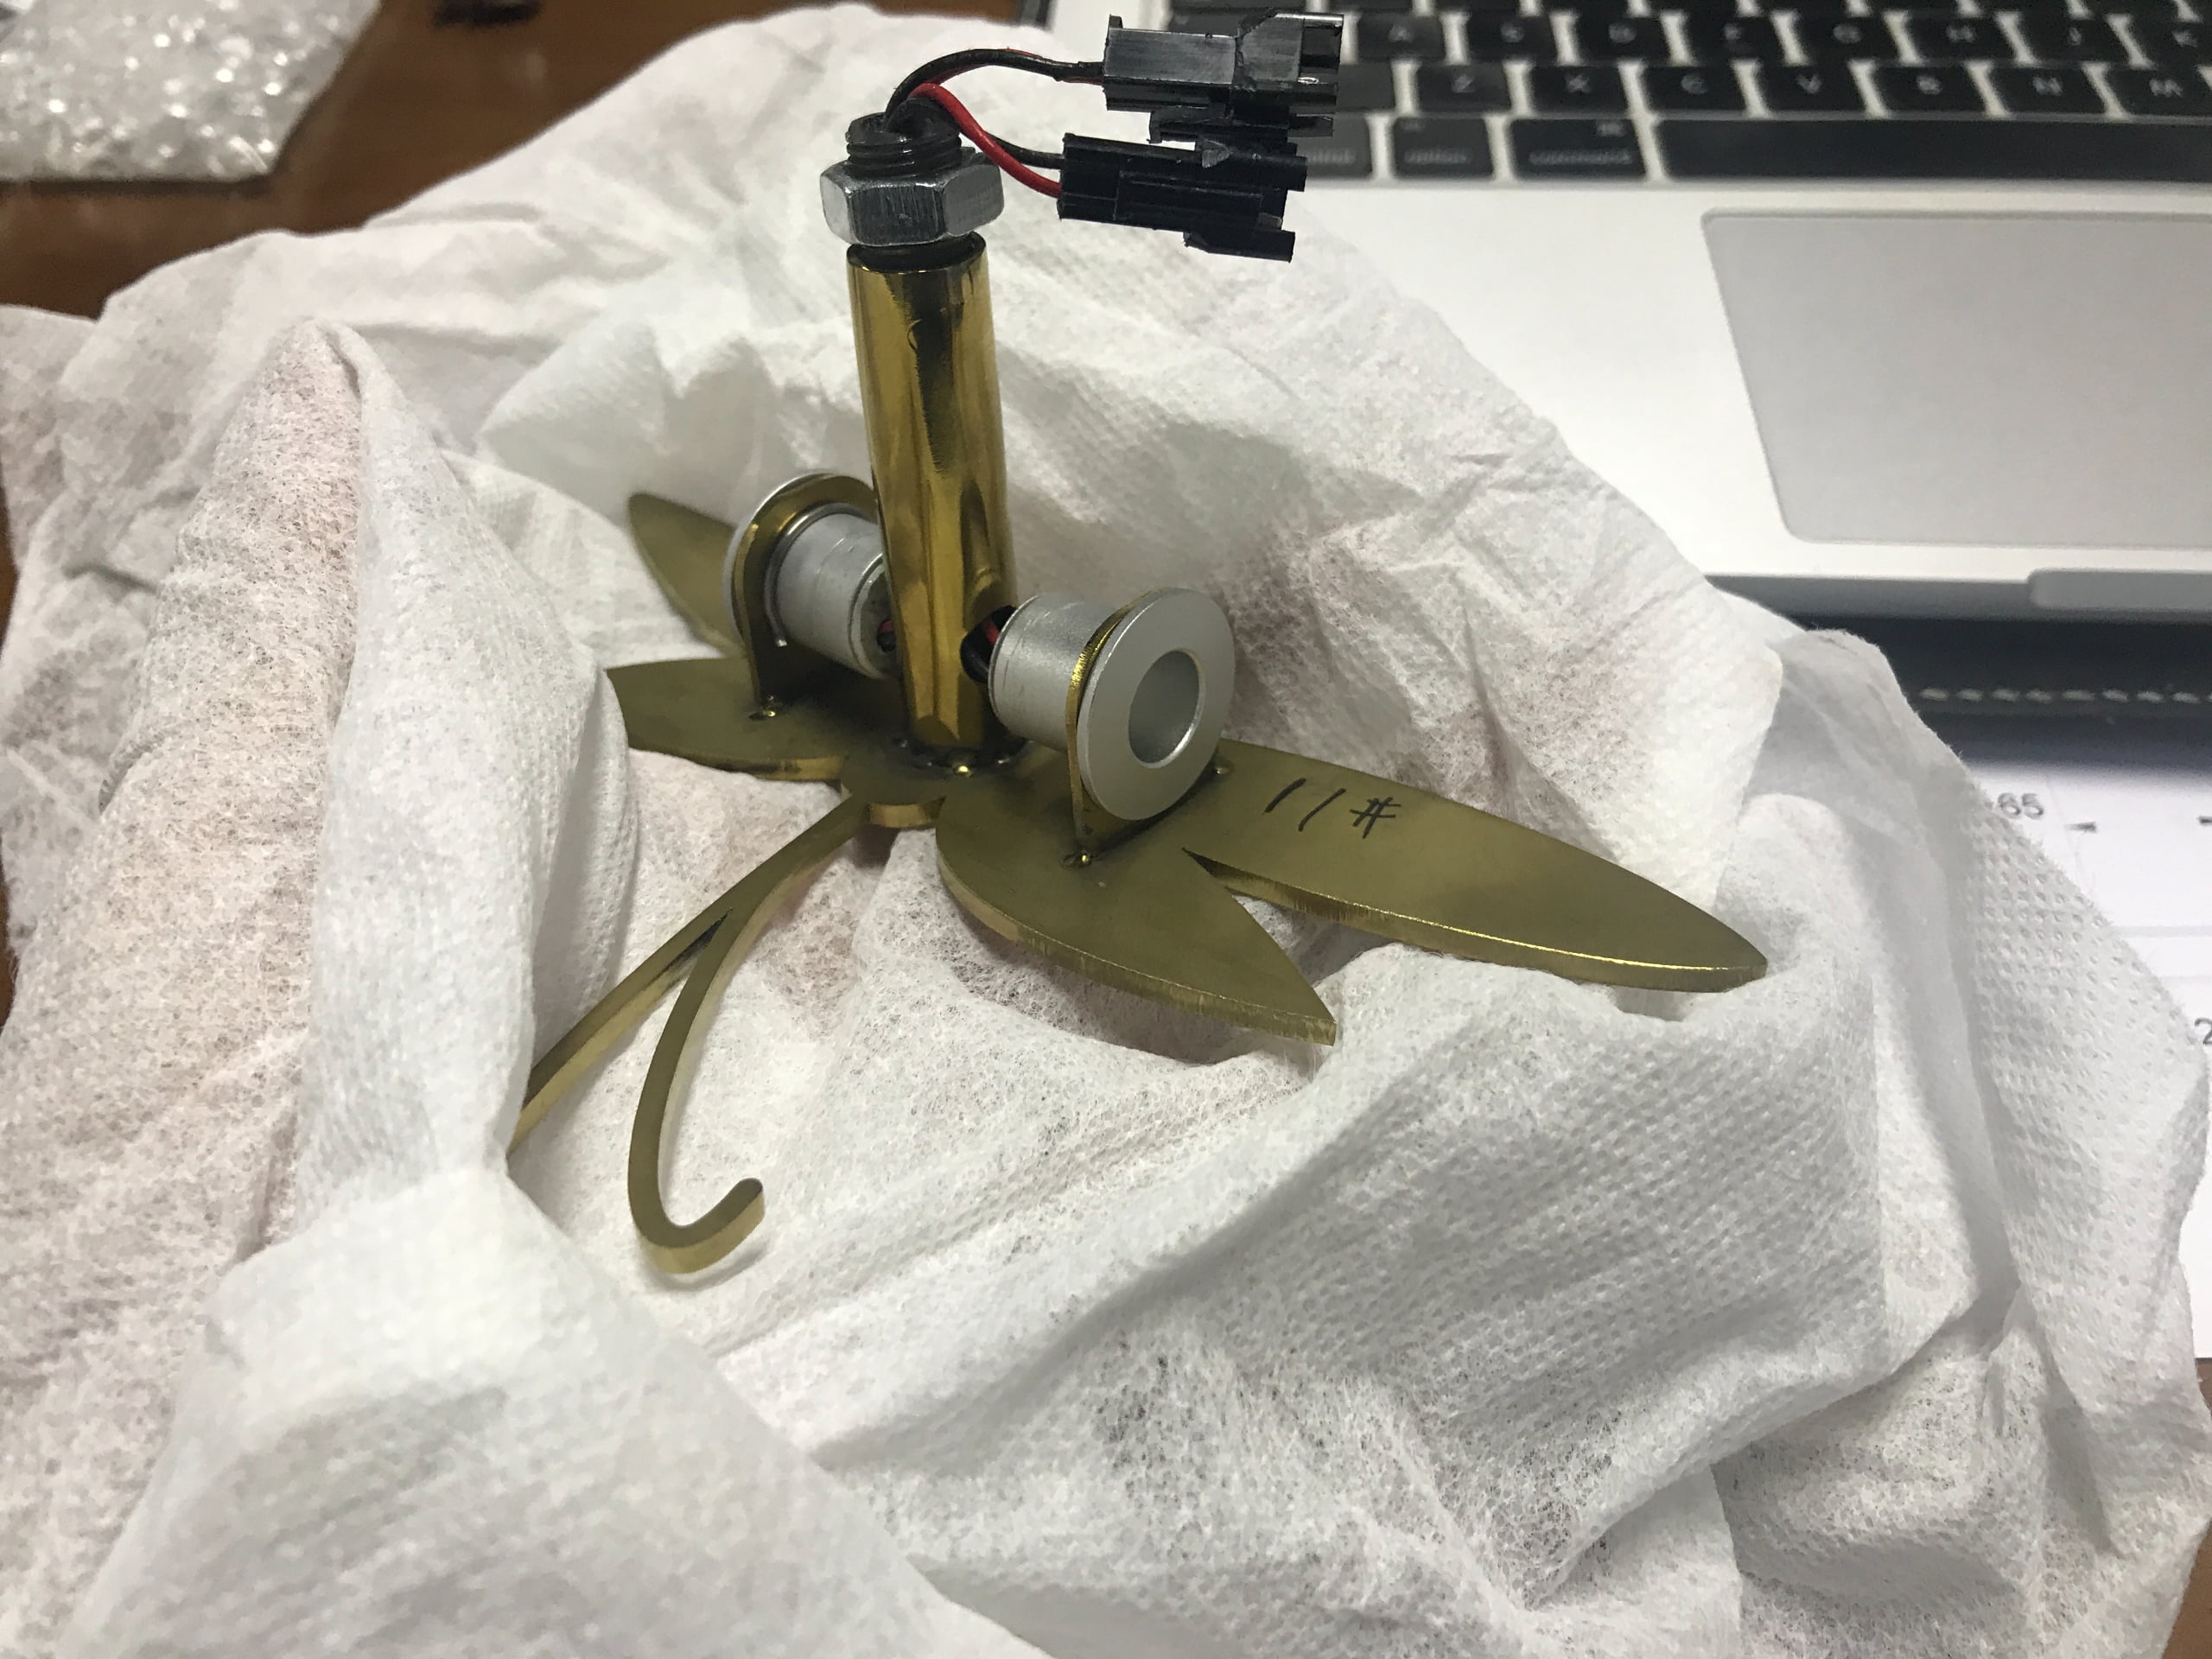
Customers only see the finished decoration. The hidden engineering is what makes the display reliable.
How Custom Illuminated Display Props Were Manufactured, Step by Step
Before manufacturing began, the approved rendering had to be translated into practical engineering requirements. These included the overall size, spacing between props, lighting direction, power routing, mounting method, and access for future maintenance. A rendering establishes the visual mood, but it does not answer these production questions on its own.
A single prototype was then built and checked by hand for silhouette, wing angle, edge quality, and reflection. A CAD model can predict shape, but it cannot fully show how a polished metal surface will reflect light once the LED is switched on. For that reason, the LED was tested against the physical prototype while observing reflection, hotspots, shadow direction, and glare from different viewing angles.
Once the lighting effect was confirmed, the next priority was hiding the physical LED source while keeping the glow visible. Customers should see the light effect, not the LED module, cable, or mounting hardware. The cable was therefore routed through the hollow support tube rather than left loose behind the panel.
The wiring system used modular quick-connect terminals instead of point-to-point soldering. Connecting dozens of units individually would have made installation slow and troubleshooting difficult. The modular system allowed a faulty connection to be isolated quickly and made it possible to replace a single illuminated prop without disturbing the rest of the display.
The back panel required the same level of planning. Weight, wiring, and transport vibration called for a reinforced internal frame rather than a purely decorative surface. Mounting remained screw-based instead of welded so that damaged components could be repaired or replaced without cutting the structure apart.
Before shipment, the complete panel was assembled and illuminated as one system. Brightness, shadow shape, color, connectors, and power paths were checked unit by unit. The factory-to-store installation process was also simulated to confirm that the store team could reassemble the display without factory supervision.
Electrical components should comply with recognized safety standards for commercial installations. During testing, several earlier layouts were rejected because the LED reflection became visible from the customer's eye level. Only after adjusting the LED position and support angle did the dragonfly produce the soft halo required by the design.
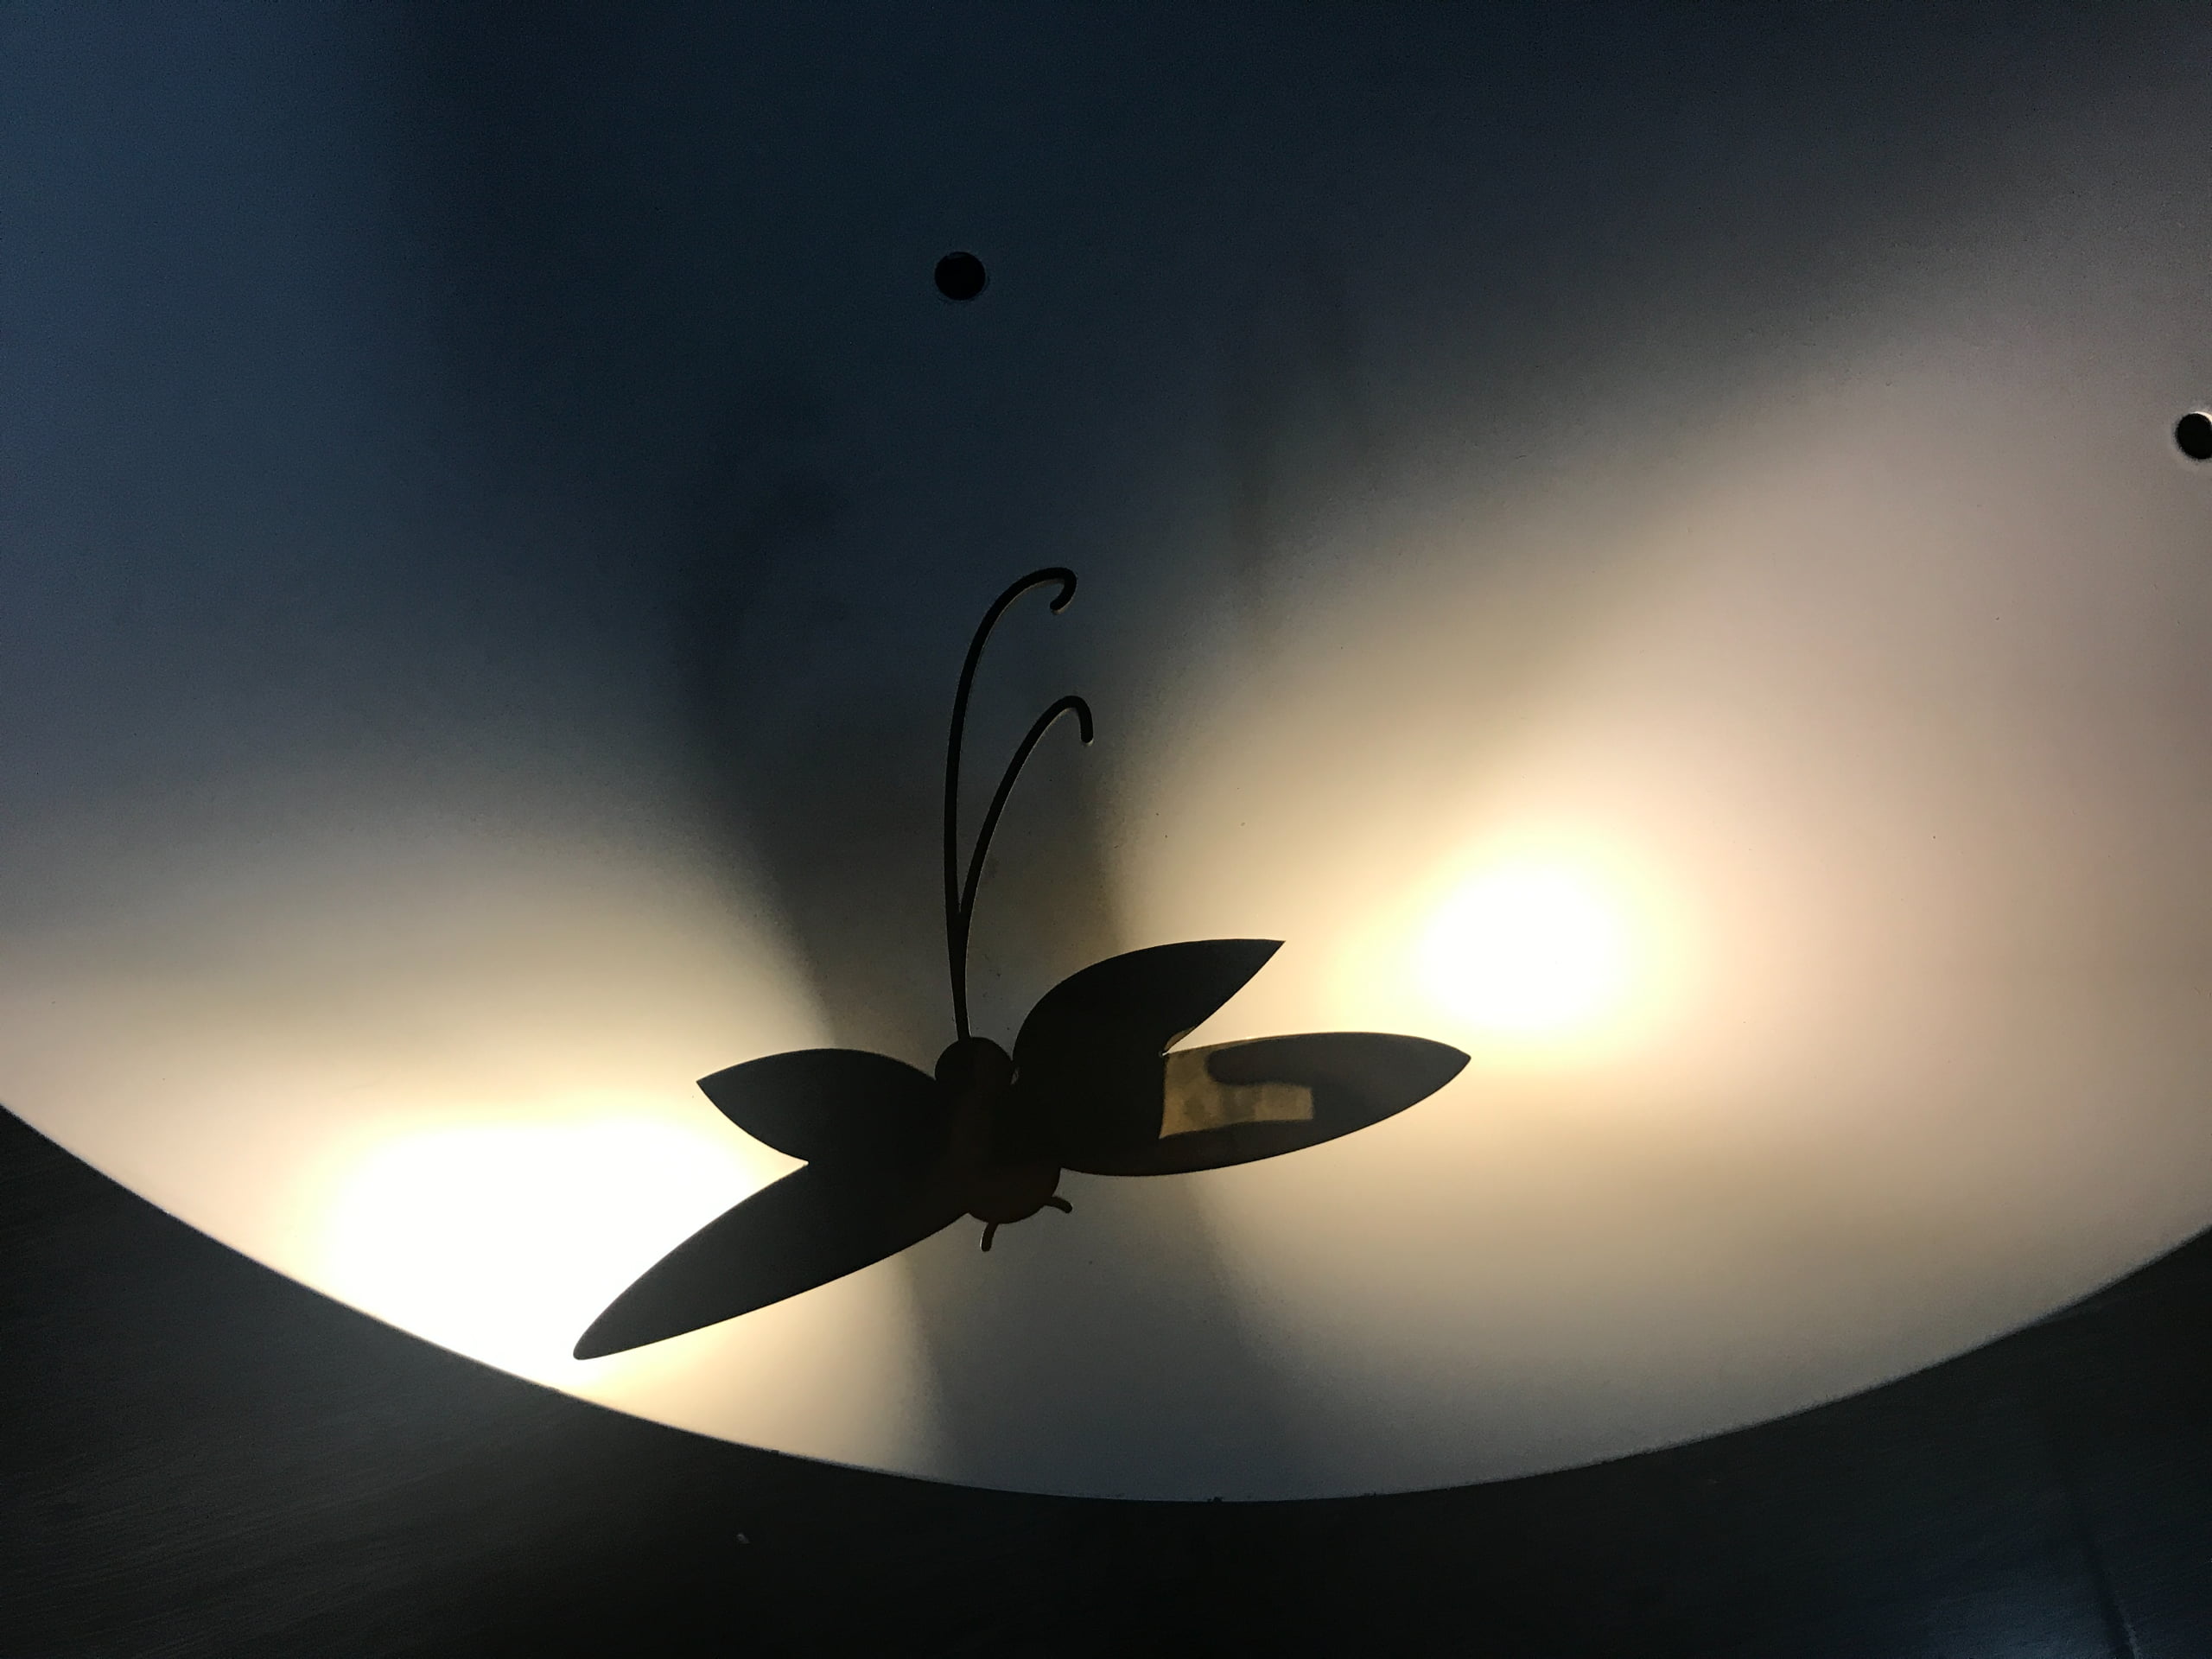
Customers only see floating dragonflies, but everything that makes them glow is completely hidden behind the panel.
Why Custom Illuminated Display Engineering Matters
A single store may be able to absorb a small wiring problem because an installer can fix it on site. That tolerance disappears when a rollout expands to twenty or fifty locations. Every unclear detail in the design is multiplied by the number of stores.